
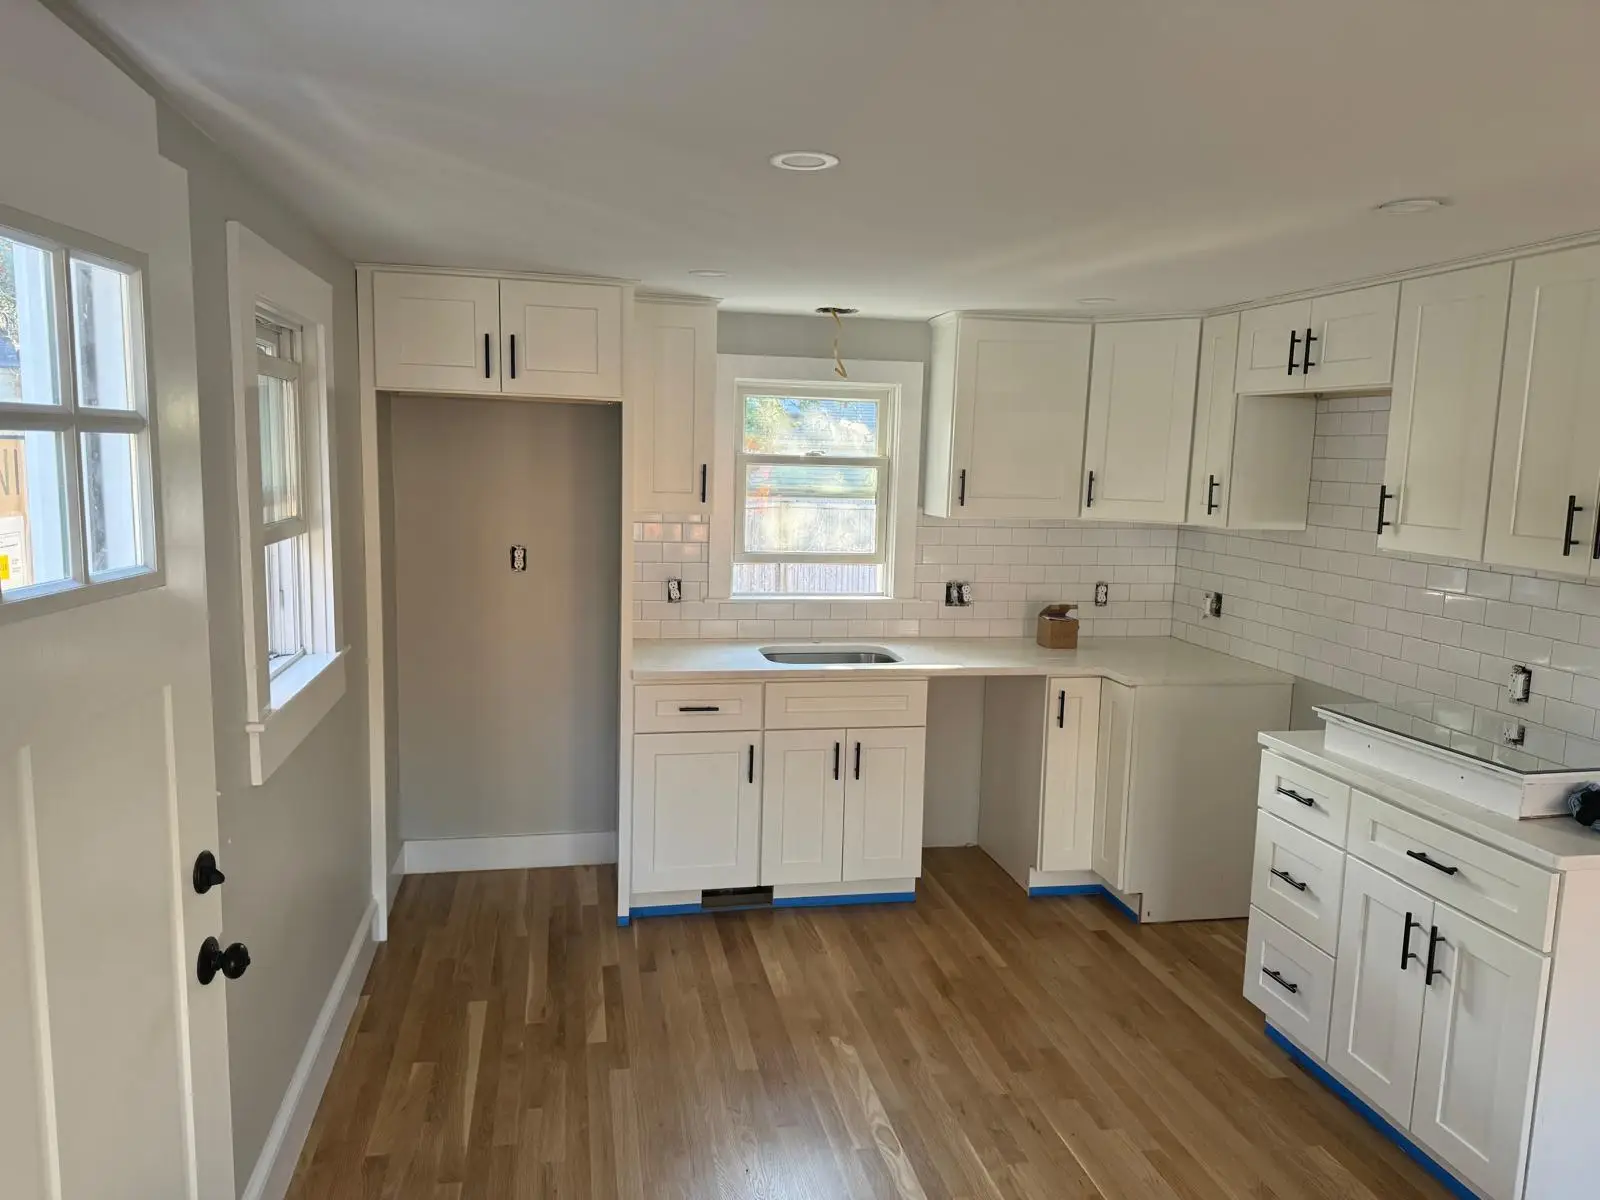
The kitchen is often considered the heart of the home, but it’s also a hub of activity that produces heat, steam, and cooking fumes. While we often focus on the walls and cabinets, the kitchen ceiling takes a significant beating from these elements. Choosing the right paint for this often-overlooked surface is crucial for both aesthetics and long-term durability. This guide will help you understand why kitchen ceilings need special paint, what qualities to look for, the best finishes, recommended brands, and professional tips for a lasting finish.
Why kitchen ceilings need special paint
Kitchens are unique environments within a home, characterized by:
- High Moisture: Cooking, boiling water, and dishwashing generate a significant amount of steam and humidity. This moisture can lead to peeling paint, mildew growth, and water stains on standard ceiling paints.
- Grease and Fumes: Cooking inevitably produces grease, smoke, and food odors that rise and can settle on the ceiling. Over time, this creates a greasy film and yellowing stains that are difficult to clean with regular paint.
- Temperature Fluctuations: The heat from ovens, stovetops, and dishwashers causes the ceiling material to expand and contract, which can lead to cracking and flaking of less flexible paints.
- Stain Accumulation: Beyond grease, accidental splatters from cooking or even drinks can easily reach the ceiling, leaving unsightly marks.
Using a general-purpose ceiling paint in a kitchen will likely result in a ceiling that quickly looks dingy, stained, and potentially promotes unhealthy mildew growth, requiring frequent repainting.
Qualities to look for in kitchen ceiling paint
To combat the harsh kitchen environment, look for paints with these specific characteristics:
- Moisture and Humidity Resistance: This is paramount. Look for paints labeled as “kitchen and bath,” “mold and mildew resistant,” or “moisture resistant.” These formulas are designed to stand up to high humidity without bubbling, peeling, or fostering mildew.
- Washability and Scrubbability: A kitchen ceiling will get dirty. You need a paint that can be easily wiped clean with a damp cloth without damaging the finish. Paints with good scrub ratings are ideal for removing grease and stains.
- Stain Blocking/Resistance: Many kitchen ceiling paints come with built-in stain blockers or are highly resistant to staining from grease, smoke, and food. This helps keep your ceiling looking fresh longer.
- Durability and Adhesion: The paint needs to adhere well to the ceiling surface and withstand the thermal expansion and contraction without cracking or flaking.
- Low VOC (Volatile Organic Compounds): Given that you’ll be cooking and eating in the space, low VOC paints are a healthier choice, reducing the amount of harmful chemicals released into your home’s air.
- Self-Priming (Optional but Recommended): While a separate primer is often a good idea, a high-quality, self-priming paint can save a step, especially if the existing ceiling is in good condition and not heavily stained. For heavily stained ceilings, a dedicated stain-blocking primer is still recommended.
Best paint finishes for kitchens (flat, satin, semi-gloss)
The finish (or sheen) of your paint plays a significant role in its durability, washability, and how it looks.
- Flat/Matte:
- Pros: Hides imperfections extremely well, provides a uniform, non-reflective look. Often preferred for ceilings as it minimizes glare.
- Cons: Least durable and least washable finish. While some modern “flat” ceiling paints are designed for kitchens, traditional flat paints are very difficult to clean and can scuff easily. Not generally recommended for kitchen ceilings unless specifically formulated for high-moisture areas.
- Satin:
- Pros: Offers a soft, subtle sheen that’s more durable and significantly easier to clean than flat paint. It strikes a good balance between hiding imperfections and providing washability.
- Cons: Can show minor surface imperfections more than a flat finish.
- Recommendation: A very strong contender and often the best overall choice for kitchen ceilings. Many “kitchen and bath” paints are available in a satin finish.
- Semi-Gloss:
- Pros: Highly durable, extremely washable, and excellent at resisting moisture and grease. Its high sheen makes it very easy to wipe clean.
- Cons: The most reflective finish, which means it will highlight every single imperfection on your ceiling (e.g., bumps, nail pops, uneven drywall seams). Can create too much glare in some kitchens.
- Recommendation: While highly functional, use semi-gloss only if your ceiling is absolutely pristine, or if you prefer a very reflective, modern look and don’t mind meticulous prep.
Recommended kitchen ceiling paint brands
Several reputable paint brands offer excellent options specifically formulated for kitchen environments. Look for their “kitchen and bath” lines.
- Sherwin-Williams:
- Emerald® Interior Acrylic Latex Paint: A premium option offering exceptional durability, washability, and mildew resistance. Comes in various sheens, including a durable matte.
- Duration Home® Interior Acrylic Latex Paint: Another high-performance choice, known for its stain-blocking technology and superior scrubbability.
- Benjamin Moore:
- Regal® Select Interior Paint: Their popular kitchen and bath formula provides excellent mildew resistance, washability, and coverage.
- Aura® Bath & Spa: Specifically designed for high-humidity areas, offering a matte finish that’s still highly durable and washable.
- BEHR (Home Depot Brand):
- BEHR Premium Plus® Interior Paint & Primer (Kitchen & Bath): A cost-effective option that offers good mildew resistance and washability, often self-priming.
- BEHR Marquee® Interior Paint & Primer (Kitchen & Bath): A step up in quality with enhanced stain resistance and durability.
- Valspar (Lowe’s Brand):
- Valspar® Signature® Interior Paint & Primer (Kitchen & Bath): Good all-around performance with scrubbability and mildew resistance.
- Valspar® Optimus™ Interior Paint & Primer: A premium option offering advanced stain blocking and durability.
- Zinsser (Rust-Oleum):
- While not a finish paint, their B-I-N® Shellac-Based Primer or Bulls Eye 1-2-3® Water-Based Primer are highly recommended for heavily stained or greasy kitchen ceilings before applying your chosen topcoat. They excel at blocking stubborn stains and odors.
Pro tips for painting kitchen ceilings
Achieving a professional-looking and durable finish on your kitchen ceiling requires careful preparation and technique.
- Thorough Cleaning is Non-Negotiable: This is the most critical step. Use a heavy-duty degreaser (like TSP – trisodium phosphate cleaner or a strong kitchen degreaser) to cut through all grease and grime. Rinse multiple times with clean water until no residue remains. Allow the ceiling to dry completely.
- Repair Imperfections: Patch any cracks, holes, or uneven seams with spackle or joint compound. Sand smooth once dry. Even minor imperfections will be magnified by paint, especially with higher sheens.
- Use a High-Quality Primer (Especially for Stains): If your ceiling has any existing water stains, smoke residue, or heavy grease, a dedicated stain-blocking primer (like a shellac-based or high-quality alkyd primer) is essential. Skipping this step will likely result in stains bleeding through your new paint.
- Protect Your Space: Remove all furniture, cover cabinets and appliances with plastic sheeting, and tape off walls with painter’s tape. Lay down drop cloths generously. Paint drips are inevitable when painting overhead.
- Cut In First, Then Roll: Use a good quality angled brush to “cut in” along the edges where the ceiling meets the walls. Then, use a roller with an extension pole for the main area.
- Work in Sections: Paint in manageable sections (e.g., 4×4 feet) to maintain a wet edge, which helps prevent lap marks.
- Apply Two Thin Coats: Two thin, even coats are always better than one thick coat. This provides better coverage, durability, and a smoother finish. Allow adequate drying time between coats as per manufacturer instructions.
- Ensure Good Ventilation: Open windows and use a fan to circulate air. This helps with drying time and disperses paint fumes, which can be strong, especially with oil-based primers or certain paints.
- Invest in Good Tools: High-quality rollers, brushes, and an extension pole will make the job easier and result in a better finish. A roller with a thicker nap (e.g., 1/2-inch or 3/4-inch) is good for textured ceilings, while a shorter nap (e.g., 3/8-inch) is better for smooth ceilings.
- Consider a Paint Sprayer: For the most professional, smooth finish (especially with semi-gloss), a paint sprayer can be an excellent investment, though it requires more setup, masking, and cleanup.
Choosing the right paint and meticulously following these steps will ensure your kitchen ceiling not only looks fantastic but also stands up to the demands of a busy kitchen for years to come.
Ready to give your kitchen ceiling the protective and beautiful finish it deserves? Shop smart and transform your space today!