
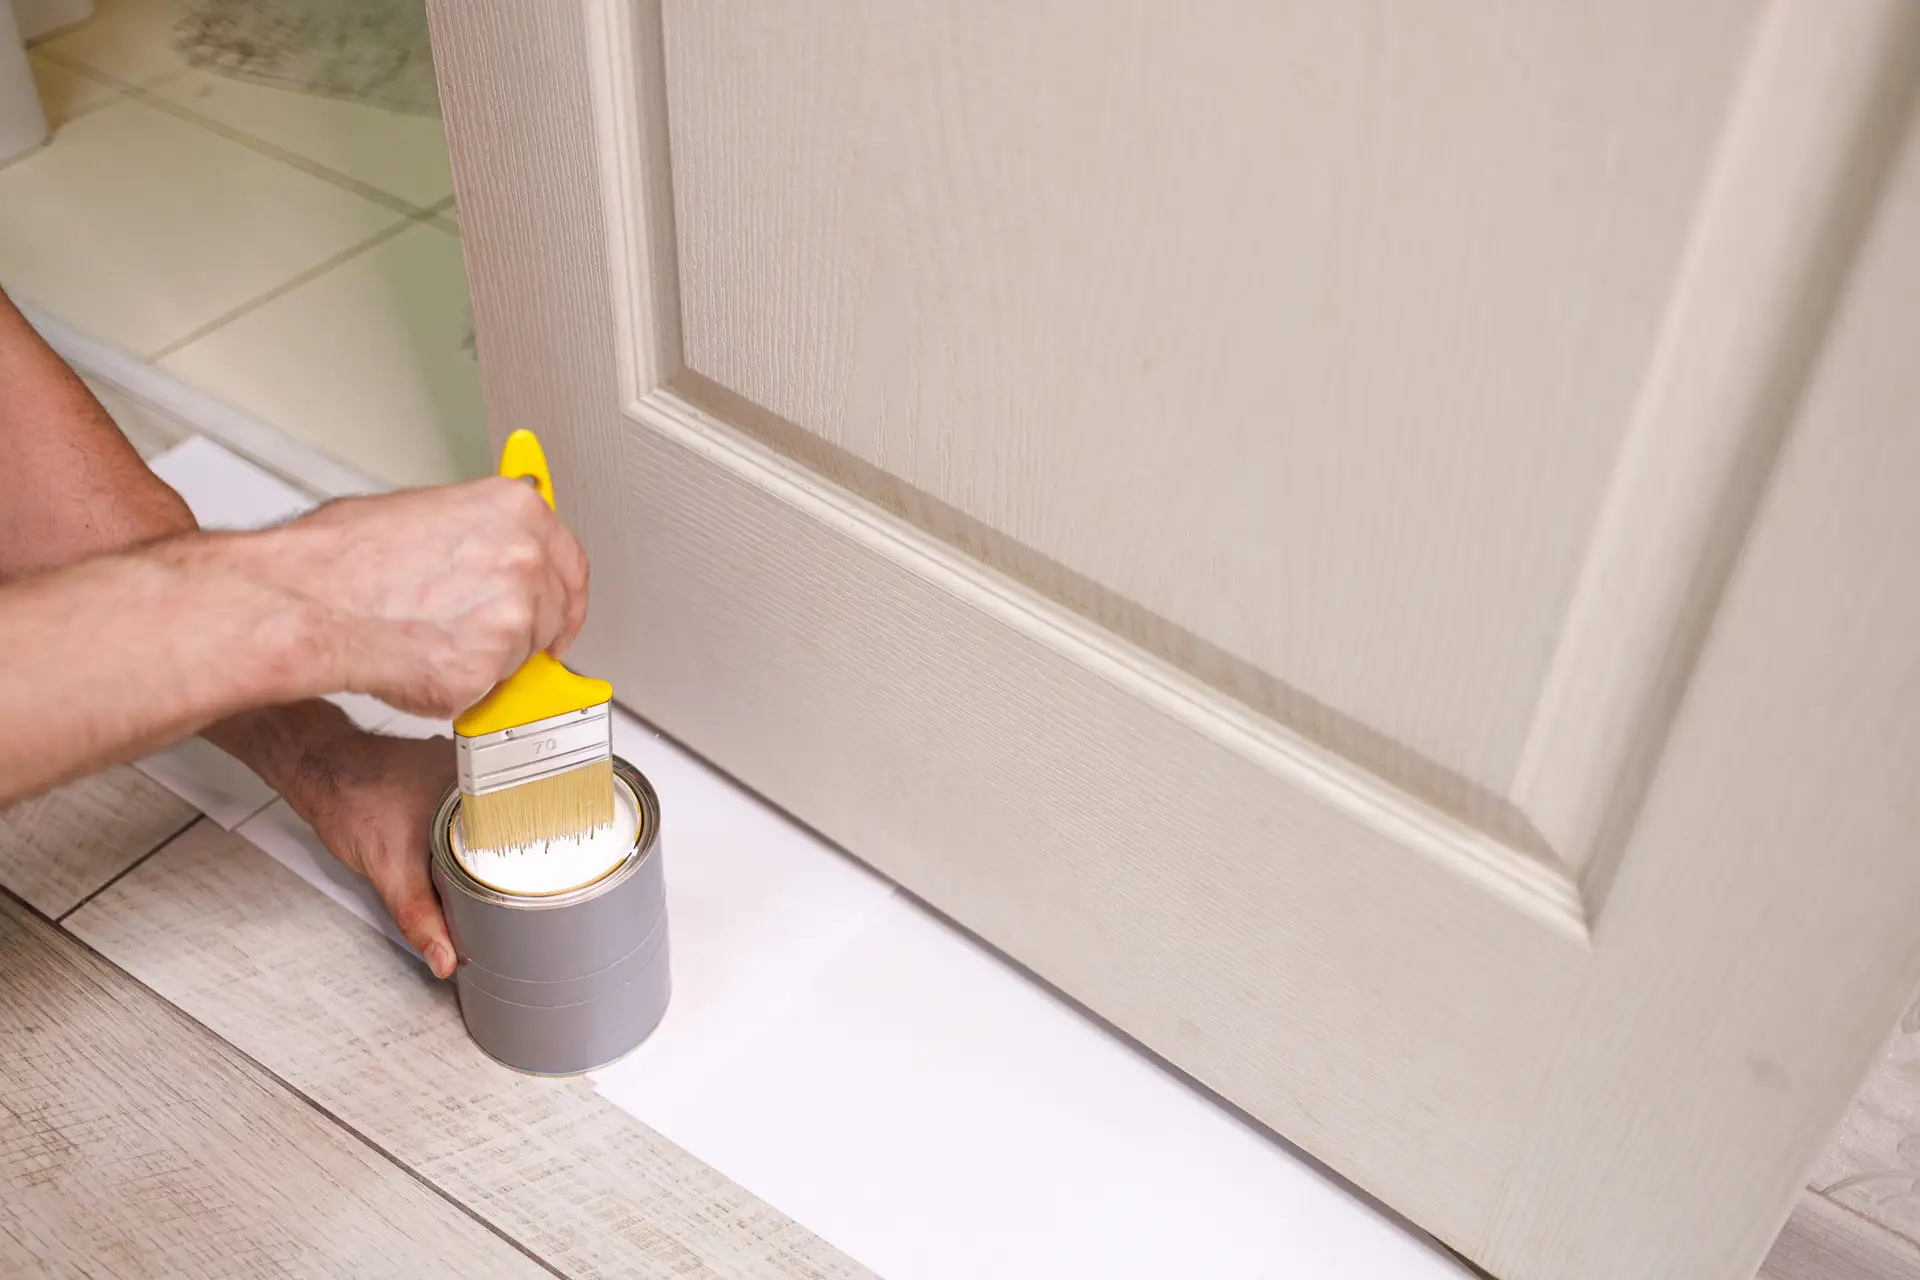
Interior doors are high-traffic surfaces that take a lot of abuse, from hand grime to scuff marks. Repainting them is an incredibly affordable way to refresh your entire home’s aesthetic. The key to a professional look is avoiding visible brush strokes and roller marks, which comes down to preparation and using the right technique.
Why Repainting Doors Refreshes Your Space
New paint on interior doors does more than just cover blemishes; it immediately elevates the entire room.
Updates Style Affordably
Replacing interior doors can be expensive and logistically challenging, but a fresh coat of paint costs very little and provides maximum impact. By repainting, you can:
- Brighten hallways by using a fresh white or light neutral color.
- Modernize older doors by changing a dated glossy finish to a modern semi-gloss or satin sheen.
- Create visual contrast by painting doors an accent color against light walls.
Protects Against Scratches and Wear
The new paint film acts as a durable shield. By using a high-quality paint, you significantly increase the surface’s resistance to:
- Moisture and humidity (especially important for bathroom doors).
- Fingerprints and smudges, making cleaning easier.
- Abrasion from cleaning or repeated opening and closing.
Tools and Materials You’ll Need
The proper tools are essential for achieving a smooth, factory-like finish.
Paintbrush, Roller, Sandpaper, Primer, and Paint
| Tool/Material | Purpose | Key Feature for Smooth Finish |
| Primer | Ensures adhesion and blocks stains. | Use a high-quality bonding primer for slick surfaces. |
| Paint | The topcoat layer and color. | Use $100\%$ Acrylic or Alkyd (Oil-Modified) paint. |
| Roller | Applies paint quickly and evenly. | Use a $4$-inch high-density foam roller for the flattest finish. |
| Brush | For cutting into recessed panels and edges. | Use a $2$-inch synthetic angle sash brush. |
| Sandpaper | Creates a smooth surface for paint to stick to. | Use fine-grit ($180$- to $220$-grit) for scuff sanding. |
Painter’s Tape and Drop Cloths
Protecting the surrounding area and hardware is crucial for a clean look:
- Drop Cloths: Use plastic sheeting or canvas drop cloths to protect the flooring.
- Painter’s Tape: Use a high-quality tape to mask hinges, hardware, and the edges of the frame if you choose not to remove the door.
- Cleaning Supplies: Use a degreaser (like TSP substitute) to remove any oil, grease, or dirt before sanding.
Step-by-Step Repainting Process
The sequence and technique are what separate a professional job from a rushed one.
1. Prepare and Clean the Surface
- Remove Hardware: The absolute best way to ensure a smooth, professional finish is to remove all door knobs, latches, and hinges. This eliminates the need for taping and ensures a continuous coat of paint.
- Clean: Wipe the door down thoroughly with a degreaser or mild soap and water solution to remove all dirt and grease.
- Sand: Lightly scuff the entire door with $180$- to $220$-grit sandpaper. This isn’t for stripping paint, but for etching the existing glossy surface (creating a “tooth”) so the new paint can bond chemically. Wipe the dust off with a tack cloth or a damp rag.
- Fill Imperfections: Apply painter’s caulk to any cracks between the door panels and fill any deep scratches with wood filler. Sand smooth once dry.
2. Apply Primer and Two Light Coats of Paint
- Primer: If you are changing the door from dark to light, or if you have sanded down to bare wood/metal, apply one thin coat of primer. Allow to dry completely.
- The “W” Technique: When applying paint with the foam roller, use a light pressure and maintain a wet edge. Roll the paint on using a ‘W’ pattern, then quickly fill in the area without lifting the roller.
- Working the Panels (Shaker/Recessed Doors): For doors with recessed panels, always paint the recessed areas (the inside corners) first with your $2$-inch brush, and then roll the flat surfaces immediately afterward.
3. Allow Full Drying Between Coats
This step is non-negotiable for a perfect finish. Patience is essential.
- Read the paint can for the recoat time (usually $4$ to $6$ hours). Do not sand or recoat before this time has passed, or the roller will lift the previous layer.
- Once the first topcoat is dry, inspect the surface. If you see minor imperfections or raised grain, give the door a very light $220$-grit sanding, just enough to knock down the surface, before applying the final topcoat.
- Apply the second topcoat in the same manner as the first, making sure the final roller pass is long, light, and continuous for the smoothest result.
Choosing the Right Paint for Interior Doors
The type of paint and its sheen are the most important decisions for door painting.
Semi-Gloss for Durability and Easy Cleaning
For almost all interior doors, a semi-gloss or satin sheen is recommended:
- Semi-Gloss: Highly reflective, extremely durable, and easy to clean. It resists grime better than flat or eggshell sheens and is perfect for modern or high-traffic homes.
- Satin: A softer, less reflective look than semi-gloss, offering a balance between durability and a modern, muted aesthetic.
Pro Tip: Use an Alkyd-Modified Acrylic (sometimes labeled “Oil/Water Hybrid”). This modern paint blends the easy cleanup of water-based paint with the smooth, hard finish and longer “open time” (time before it starts drying) of oil-based paint, which helps eliminate brush marks.
Neutral vs. Accent Colors
While white trim and doors are classic, using color can make a statement:
- Neutral: Painting doors the same color as your trim ($90\%$ of the time a bright white) provides a clean, cohesive look.
- Accent: Painting interior doors a dark gray, black, or deep blue can add architectural weight and drama to an otherwise simple room. If going for an accent, choose a satin sheen to keep the look sophisticated.
FAQs
Do I need to remove doors before painting?
You don’t have to, but it is highly recommended. Removing the door and laying it flat on sawhorses or a workbench allows gravity to work for you, minimizing drips and runs, and creating a much flatter, smoother finish than painting the door vertically while it’s still attached to the hinges.
How long should I wait before closing doors?
Do not latch or fully close the door until the paint has completely cured (not just dried) enough to resist sticking, which can take $24$ to $48$ hours, depending on the paint and humidity. Always check the paint can for specific guidelines. If you must close the door sooner, place small felt pads or a strip of painter’s tape along the door stop and frame to prevent the newly painted surfaces from touching.