
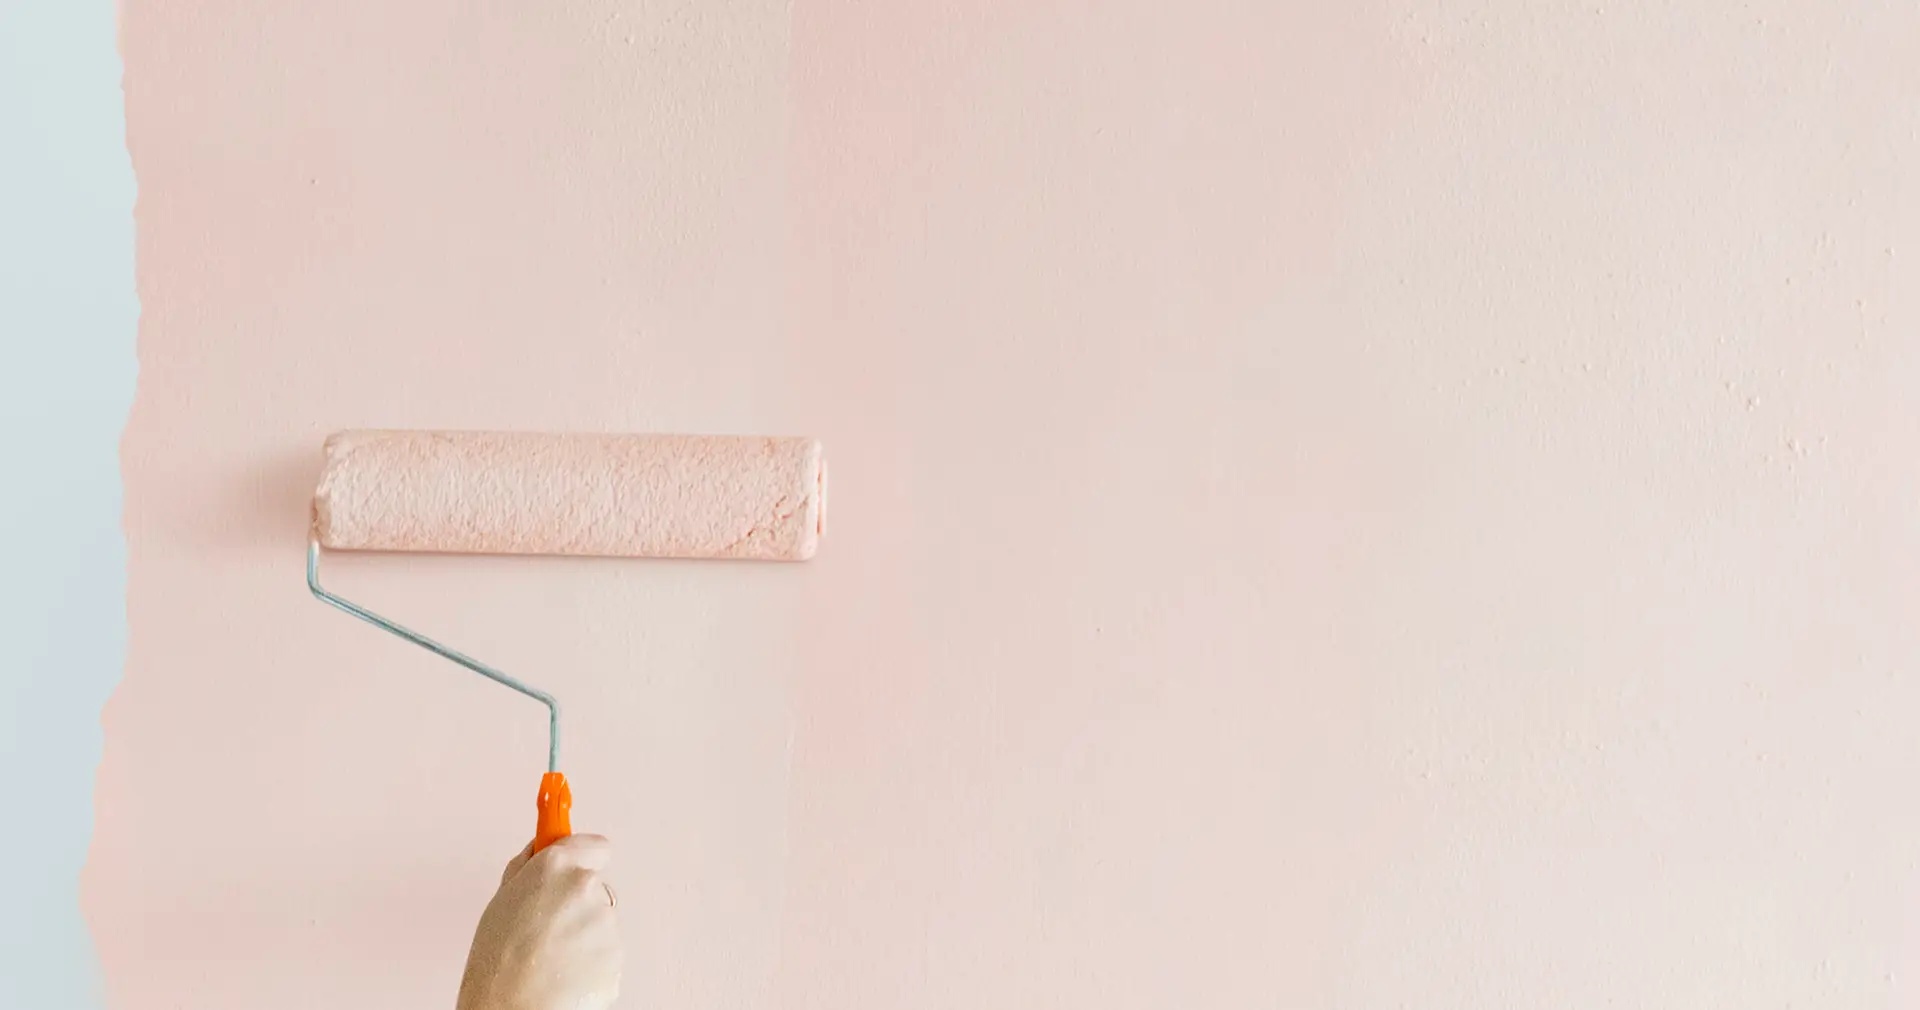
Painting an accent wall is one of the quickest and most rewarding DIY interior design projects. Unlike painting an entire room, which requires extensive prep and time, an accent wall can often be completed in a single weekend. The key to a successful accent wall lies in meticulous preparation and precise technique to ensure crisp, clean lines and streak-free coverage.
Why Accent Walls Elevate Your Interior Design
Before diving into the steps, it’s worth revisiting the power of this design element. Understanding its function reinforces the need for a precise, clean finish.
Adds Visual Interest and Contrast
A painted accent wall acts as a giant piece of art. It instantly shifts the mood of the room, providing a striking backdrop that contrasts with the lighter or more neutral main wall color. This contrast adds drama and prevents a room from feeling monotonous or washed out.
Highlights Focal Areas in Open Layouts
In modern open-concept living, it’s often difficult to distinguish between the dining area, the kitchen, and the living room. An accent wall serves as a visual anchor, clearly defining the purpose of a specific zone (e.g., highlighting the television/media area or defining the home office nook).
Choosing the Right Color and Wall
Even if you have already selected your wall, these quick reminders ensure your final paint decision is sound.
Bold vs. Subtle Tones
- Go Bold: Since you are only painting one wall, this is the time to embrace colors you love but might find overwhelming on all four walls—think deep charcoal, navy, plum, or forest green. Bolder, more saturated colors create the maximum focal point effect.
- Subtle Toning: If your goal is a serene, cohesive space (like a bedroom), choose a color that is two to three shades darker than your main wall color. This adds depth without high contrast.
Consider Lighting and Décor Color Palette
- Natural Light: If the wall gets ample sunlight, dark colors will look rich and vibrant. If the wall is primarily shadowed (e.g., a wall with no windows), choose a lighter, brighter accent color, or a warm tone to prevent the area from looking too cave-like.
- Color Palette: Ensure the chosen color complements the largest pieces of existing furniture (sofa, rug, headboard). If your sofa is warm gray, choose a warm-toned accent color (like a terracotta or deep beige), not a cool one (like a steel blue).
Step-by-Step Painting Process
Follow these detailed steps to guarantee a clean, professional application from start to finish.
Step 1: Prepare the Surface and the Room
- Clear the Area: Move all furniture at least $3$ feet away from the wall. Remove any wall decor, outlet covers, and switch plates.
- Clean the Wall: Use a mild solution of soapy water (or a product like TSP) and a damp cloth to wipe down the entire surface. Even seemingly clean walls accumulate dust and grime, which can prevent the paint from adhering properly.
- Repair Imperfections: Fill any nail holes or small cracks with spackle. Once dry, sand the patched areas smooth and wipe off the dust.
Step 2: Prime the Surface (If Necessary)
Primer is essential in two main scenarios:
- Changing Color Drastically: If you are painting a dark color over a very light wall, or a light color over a dark wall, a coat of gray-tinted primer will smooth the transition and save you an extra topcoat of your more expensive color.
- Bare/Patched Drywall: Any spots you patched with spackle or drywall filler must be primed, or the topcoat will absorb differently and leave dull spots (called flashing). Use a spot primer on these areas.
Step 3: Use Painter’s Tape for Edges
Precision is everything with an accent wall. Use high-quality blue painter’s tape (or green FrogTape) for sharp lines.
- Apply Tape: Carefully run the tape along the ceiling, baseboards, and up the two vertical corners where the accent wall meets the neighboring walls.
- Seal the Edge (Critical Step): To prevent paint bleed, seal the tape’s edge. Load a brush with a small amount of the original wall color (or primer) and paint a very thin layer along the edge of the tape where the new accent color will go. If any paint bleeds, it will be the color that is already on the wall, sealing the tape. Let this original-color seal dry completely.
Step 4: Cut In with a Brush
“Cutting in” means painting along the edges and corners where the roller cannot reach.
- Load the Brush: Dip the tip of your $2$-inch angled brush about a third of the way into the accent color. Gently tap off the excess paint—do not wipe it off, as this pulls paint out of the center bristles.
- Paint the Edges: Carefully paint a $2$- to $3$-inch strip along the ceiling, baseboards, and against the taped-off corners. Do this before rolling the wall.
Step 5: Apply Two Thin Coats Evenly
Applying two thin coats is always better than one thick coat, as it prevents drips and ensures even color depth.
- Rolling Technique: Use a roller cover appropriate for your wall texture (usually $3/8$-inch nap for smooth or semi-smooth walls). Load the roller fully but roll off the excess on the tray grid.
- The ‘W’ Pattern: Start in the top corner and roll the paint onto the wall using a W or M pattern. Fill in the center of the W/M, then move to the next section. Overlap the edges of the newly painted area.
- Second Coat: Allow the first coat to dry completely (check the paint can instructions, typically $2$ to $4$ hours) before applying the second coat, using the same technique.
Step 6: Remove the Tape While the Paint is Wet
Once the second coat is applied, do not wait for the paint to fully dry before removing the tape.
- Peel: Immediately after you finish rolling the second coat, start slowly and steadily peeling the painter’s tape away from the wall at a $45$-degree angle.
- Clean Lines: Removing the tape while the paint is still wet ensures the paint edge breaks cleanly with the tape, resulting in a perfectly sharp line.
Finishing Touches
With your color dry and your lines sharp, you can now optimize the wall to truly command attention.
Add Wall Art, Lighting, or Trim for Extra Impact
- Art Contrast: Use bright white mats or light wood frames against a dark accent wall. This contrast ensures the art pops off the wall beautifully.
- Lighting: Install two vertical picture lights (or sconces) flanking a piece of art or a mirror. These fixtures will graze the wall with light, emphasizing the color saturation and texture.
- Dimensional Trim: For a high-impact, custom look, consider adding simple trim details like vertical board-and-batten or picture-frame molding painted the same color as the accent wall.
FAQs
How do I avoid streaks or uneven coverage?
Streaks or uneven coverage (also called “lap marks”) occur when you paint over a partially dried section. To avoid this:
- Work Fast: Maintain a wet edge. When you roll, always roll into the area you just painted while it is still wet.
- Full Roller: Keep your roller fully loaded, not dripping, but saturated. A roller that is running dry will pull paint off the wall instead of applying it smoothly.
- Temperature: Avoid painting in extremely hot or dry conditions, as the paint will dry too quickly and be impossible to blend seamlessly.
Can I use textured paint on accent walls?
Yes, and it is highly recommended for adding another layer of dimension. Textured applications like Venetian plaster, suede-effect paint, or even simple mineral paints can give a flat wall a sophisticated, custom feel. Just be aware that textured paint may require special application tools (like trowels or thick-nap rollers) and usually takes longer to dry and cure.