
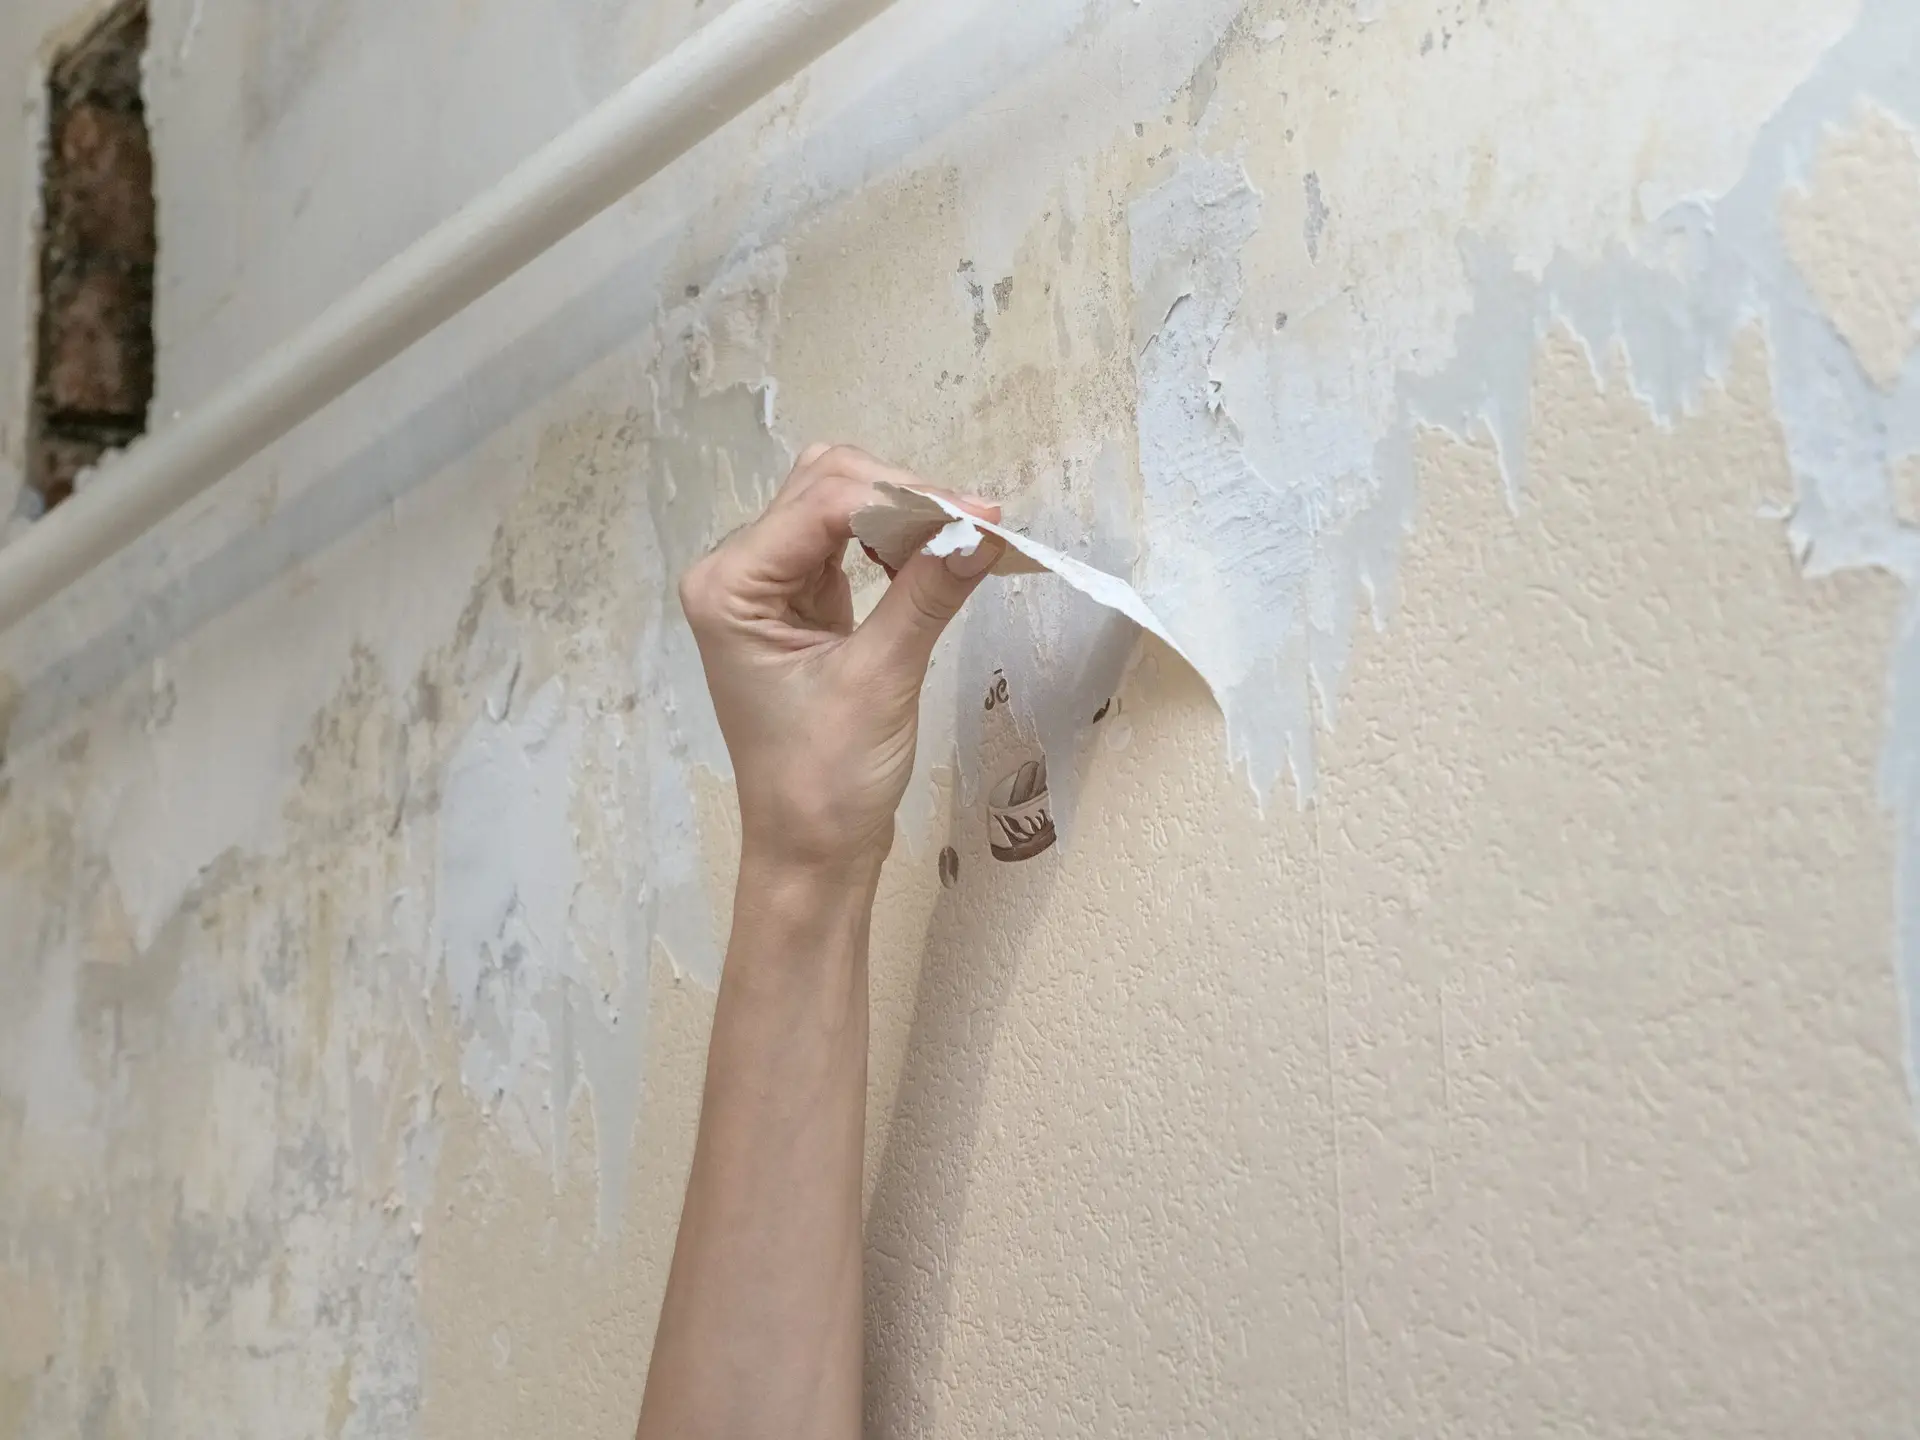
Paint bubbling, or blistering, occurs when the paint film separates from the surface below (the substrate), creating small pockets of air or water. This common issue is almost always a sign of a failed bond caused by poor preparation or the presence of moisture. Understanding the root cause is essential for a permanent fix, as simply scraping and repainting will only lead to repeated failure.
Mass Pro Painting identifies and treats the source of blistering before repainting, ensuring a durable, flawless finish that lasts.
Common Causes of Paint Bubbling
Blistering is an adhesion failure that falls into two main categories: moisture intrusion or application error.
Moisture Trapped Behind Paint
This is the most frequent and serious cause. Water vapor can migrate through the wall material (drywall, plaster, wood) and become trapped between the paint film and the substrate. The pressure created by the vapor or liquid water pushes the paint film outward.
- Interior Source: Plumbing leaks, high-humidity rooms (bathrooms/laundries), or basement seepage.
- Exterior Source: Water penetrating the siding or masonry, often near windows or gutters, and being driven inward.
Painting Over Dirty or Oily Surfaces
If the wall surface is not thoroughly cleaned before painting, dust, dirt, cooking grease, or wax polish creates a weak barrier. The new paint adheres to this barrier instead of the actual wall material, and the paint film easily separates and bubbles.
Applying Paint Too Thick
Applying a single, very thick coat of paint (or multiple coats too quickly) can lead to the outer surface drying and forming a skin before the solvents underneath have evaporated. As the inner layer dries and shrinks, it pulls away from the wall, causing large, irregular bubbles.
Painting in High Heat or Humidity
Extreme heat causes the paint’s solvent or water to evaporate too quickly, particularly when painting in direct sunlight or on a very hot day. This rapid evaporation traps air and prevents the paint from penetrating and properly bonding to the surface.
How to Fix Paint Bubbles
Repairing blistering requires fixing the underlying cause (especially moisture) and following a meticulous surface preparation process.
Step 1: Scrape Away Bubbles
Use a rigid paint scraper to carefully remove all the damaged, blistered, and peeling paint. Scrape beyond the bubble edges to ensure you are only left with paint that is still firmly adhered to the wall.
Step 2: Sand the Area Smooth
Use medium-grit sandpaper (120–150 grit) to smooth the edges between the remaining old paint and the bare wall material. The goal is to feather the edges so the transition is seamless and won’t be visible under the new paint coat.
Step 3: Clean Surface Thoroughly
Wipe the entire repair area with a rag dampened with a mild cleaner (like a TSP substitute) to remove all sanding dust and debris. If the original cause was grease or oil, ensure thorough degreasing. Allow the surface to dry completely.
Step 4: Prime with Stain-Blocking Primer
Apply a high-quality, stain-blocking primer (often shellac- or oil-based) to the bare areas. This step is critical as it locks down any potential residue and creates a strong, uniform bonding surface for the topcoat.
Step 5: Repaint with Thin Coats
Apply the color coat, using the lowest sheen paint that was used previously. Apply two thin, even coats, allowing adequate drying time between coats (usually 4–6 hours). Roll or brush in the same direction and pattern as the rest of the wall to ensure the finish blends seamlessly.
How to Prevent Bubbling in Future Projects
Prevention relies on correct environment, thorough preparation, and proper paint application technique.
Allow Walls to Dry Fully Before Painting
Never paint over a damp or wet surface. If you have recently cleaned the wall or repaired a leak, use a moisture meter to ensure the wall material is completely dry before introducing primer or paint.
Use High-Quality Primers
Always use a primer that is suitable for the surface and condition. Primers are adhesion promoters, and using the right primer (especially bonding or shellac primers for problem areas) provides the necessary foundation for the topcoat.
Avoid Painting in Extreme Temperatures
For exterior jobs, avoid painting in direct, intense midday sun. For interiors, maintain a consistent, moderate temperature (ideally 65°F to 80°F) and moderate humidity to ensure controlled drying and proper curing.
Follow Correct Curing Times
Do not rush the process. Read the manufacturer’s label and adhere strictly to the recommended re-coat and cure times for both the primer and the paint.
FAQs
“Why do bubbles appear hours after painting?”
This usually points to a contamination issue—you likely painted over a dirty, oily, or dusty surface. As the fresh paint begins to dry and shrink, it pulls away from the weak, unbonded layer of grime, causing the blisters to form.
“Can humidity cause bubbling?”
Yes. High humidity, especially in bathrooms or kitchens, creates moisture vapor. If this vapor penetrates the wall material and attempts to escape, it can push the paint film off the wall, leading to blistering. Using a semi-gloss or high-gloss paint in these high-humidity areas can help prevent moisture penetration.
“Do I have to repaint the whole wall?”
No, provided the remaining paint is sound. You only need to repaint the repaired area (the feathered patch). With proper priming and careful blending, the repair can be made virtually invisible.
Ready to eliminate those frustrating paint bubbles and ensure a durable finish?
Contact Mass Pro Painting today for professional surface preparation and guaranteed paint repairs.