
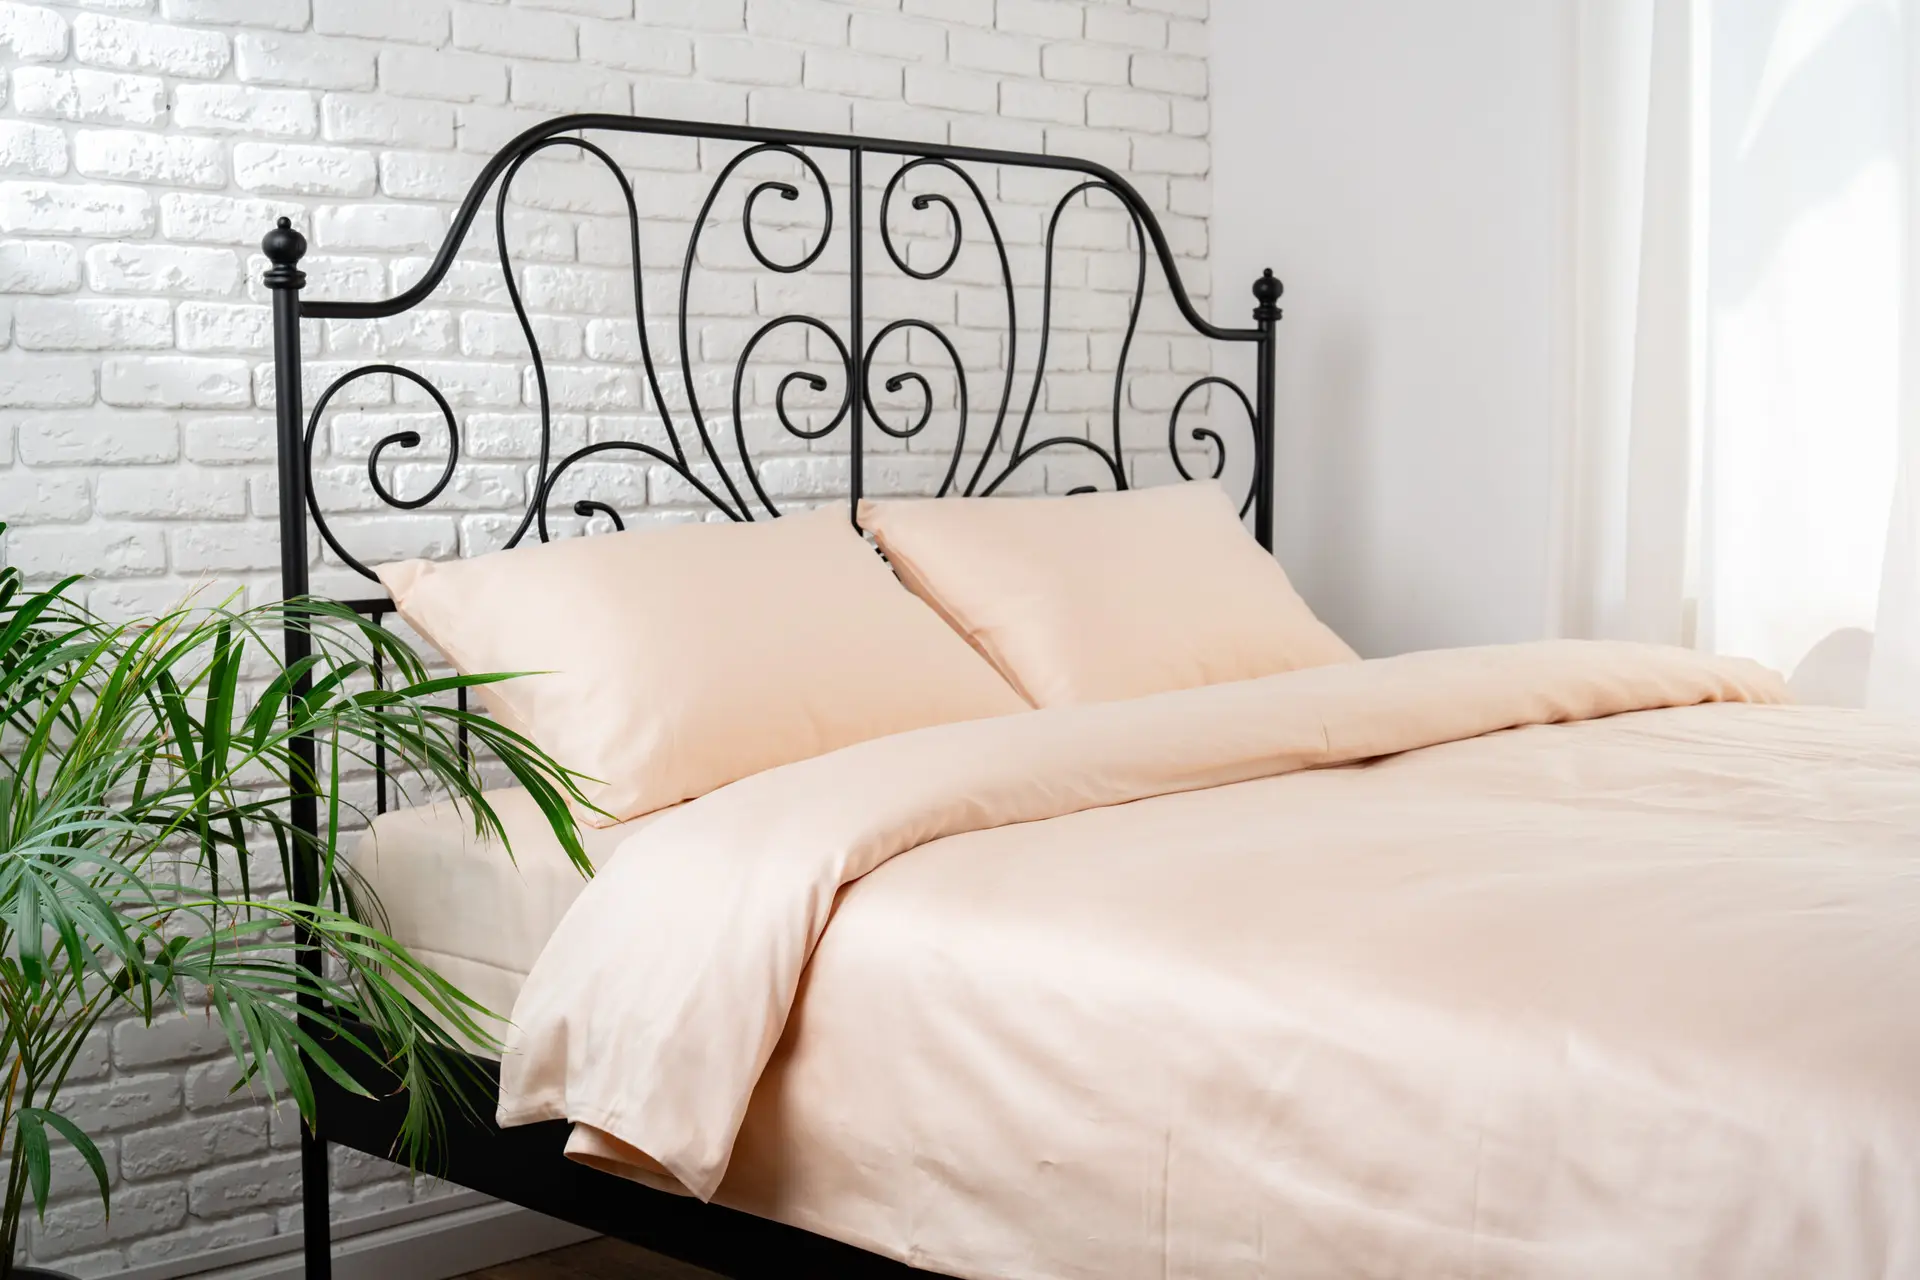
A metal bed frame is a foundational piece of furniture that can drastically alter the aesthetic of a bedroom. Over time, however, metal frames can become scratched, chipped, or simply out of style. Fortunately, a new coat of paint is the most effective and affordable way to refresh an old frame, transforming it from a tired piece of metal into a stylish centerpiece. The key to success lies in understanding the unique preparation required for metal surfaces to prevent rust and ensure lasting adhesion.
Can You Paint a Metal Bed Frame?
Absolutely. Almost any type of metal—including steel, wrought iron, and aluminum—can be painted successfully. The critical difference between painting metal and painting wood is that metal is non-porous and highly susceptible to oxidation (rust).
Why Metal Requires Special Prep
Standard latex or oil-based paints designed for walls and wood surfaces do not adhere well to smooth, non-porous metal. Furthermore, these paints lack the protective components necessary to prevent moisture from reaching the metal, which leads to rust.
- Adhesion: Metal surfaces, especially smooth ones like chrome or factory-painted finishes, must be chemically bonded or mechanically roughened for primer to grip.
- Corrosion: Any bare metal exposed to oxygen and humidity will rust. Rust is powdery and flaky, and any paint applied over it will quickly detach and peel. Therefore, all existing rust must be neutralized or removed before priming.
Common Reasons Paint Fails on Metal Furniture
A peeling or chipping metal paint job can almost always be traced back to one of these three preparation failures:
- Skipping Degreasing: Oil, skin residue, and manufacturing grease create a barrier between the metal and the primer, leading to immediate peeling (often called ‘fisheyes’ in the paint).
- Improper Rust Removal: Painting over even minor rust spots allows the corrosion process to continue beneath the paint film, causing bubbles and eventual flaking.
- Using the Wrong Primer: Using a standard wood primer that lacks rust-inhibiting or etching properties guarantees poor long-term adhesion and protection.
Prep Steps That Matter Most
Preparation is 90% of a successful metal paint job. Do not rush this stage.
Cleaning Grease, Dust, and Residue
Before any sanding or scraping, the surface must be meticulously clean.
- Heavy Duty Cleaner: Use a strong degreaser such as Tri-Sodium Phosphate (TSP) substitute or a powerful cleaner like Simple Green. For older bed frames, mineral spirits or paint thinner may be necessary to remove stubborn factory grease or wax.
- The Wipe-Down: Use a clean rag dampened with the cleaner to wipe down every part of the frame. Pay special attention to joints, curves, and areas around fasteners, as these areas collect dirt.
- Rinse and Dry: Rinse the frame with clean water and allow it to dry completely. Any moisture left on the metal will begin the rusting process instantly.
Removing Rust and Loose Paint
If the frame is bare, rusty, or has chipping paint, this step is essential.
- Loose Paint: Use a wire brush or scraper to remove any paint that is actively flaking or peeling. The goal is to remove any structurally unsound material.
- Rust Removal (Mechanical): For large patches of rust, use a wire wheel attachment on a power drill, an orbital sander with a coarse grit (80-100), or sandpaper. The aim is to get down to clean, shiny metal.
- Rust Neutralization (Chemical): For minor rust or areas difficult to reach, use a chemical rust converter or neutralizer (often containing phosphoric acid). These products chemically react with the rust, turning it into a stable, black, paintable surface (iron phosphate). Follow the product instructions precisely.
Sanding and Surface Roughening
Even if the existing factory paint is in good shape, the glossy surface must be “scuffed” to provide a mechanical anchor for the new primer.
- Scuffing Intact Paint: If the existing paint is stable and smooth, use a medium-grit sandpaper (180 to 220-grit) or a sanding sponge to lightly scuff the entire frame. You are not trying to remove the paint, only dull the shine.
- Bare Metal: If you’ve sanded down to bare metal, use a slightly coarser grit (120-grit) for the initial roughening, then finish with 180-grit to smooth it out before priming.
- Final Wipe: After sanding, wipe the entire frame down with a tack cloth or a rag lightly dampened with mineral spirits to remove all sanding dust.
Best Primer & Paint for Metal Bed Frames
The choice of primer and topcoat will define the durability and finish quality of your project.
Rust-Inhibiting Primers
A dedicated metal primer is non-negotiable. Look for primers with keywords like “rust-inhibiting,” “rust-preventative,” or “direct-to-metal (DTM).”
- Etching Primer: Ideal for very smooth or difficult-to-paint metals like aluminum or galvanized steel. It contains mild acid to microscopically etch the surface, creating superior adhesion.
- Red Oxide Primer: A heavy-duty, traditional primer often used for ferrous metals (steel/iron) that have been sanded down to bare metal. It provides excellent corrosion protection.
- Universal Rust Preventative Primer: A general-purpose primer that works on multiple surfaces and contains corrosion inhibitors. Brands like Rust-Oleum offer reliable options in both brush-on and spray formats.
Spray Paint vs. Brush-On Enamel
The application method significantly impacts the final finish, especially on frames with detailed scrollwork or many joints.
| Feature | Spray Paint (Aerosol) | Brush-On Enamel |
| Finish Quality | Very smooth, factory-like, best for complex designs. | Often leaves slight brush marks, but results in a thicker, more durable coat. |
| Speed | Fast application, but requires extensive masking and ventilation. | Slower to apply, but allows for better control and spot-touching. |
| Durability | Excellent, particularly when using specialized metal coatings (e.g., oil-based or acrylic-urethane aerosols). | Superior, as the thicker layer provides better impact and abrasion resistance. |
| Ease of Use | Easier for beginners to achieve an even coat on complex shapes. | Requires more technique to avoid drips and maintain a wet edge. |
Recommendation: For intricate metal frames, spray paint is usually the easiest route to a professional-looking, drip-free finish. Choose a “direct-to-metal” (DTM) protective enamel spray for the best results.
Application Tips for a Smooth Finish
Whether you choose spray or brush application, achieving a smooth, professional finish relies on technique and patience.
Thin Coats and Proper Drying Time
The biggest mistake is applying the paint too thickly to save time.
- Multiple Thin Coats: Apply 2-3 thin coats instead of one thick coat. Thin coats dry faster, bond better, and are less likely to sag or drip.
- Follow Recoat Times: Pay close attention to the “recoat window” on the paint can. Applying a second coat too early (before the first coat has properly tacked up) can cause wrinkles and bubbles. Applying too late may require a light scuff sanding before the next coat for optimal adhesion.
- Primer: Apply one solid coat of primer, ensuring all bare metal is covered. Wait the manufacturer’s recommended time before applying the topcoat.
Avoiding Drips and Uneven Texture
Drips occur when gravity pulls the excess paint before it can cure.
- Brushing: Load the brush sufficiently but not excessively. Always work horizontally or vertically, following the lines of the frame. Use long, even strokes and immediately brush out any visible runs.
- Spraying: Stand approximately 8-12 inches away from the surface and use a sweeping motion, starting the spray off the frame and ending it off the frame. Never hold the spray can still while pressing the nozzle. If a drip forms, stop spraying, let it dry completely, lightly sand the hardened drip smooth, and then continue painting.
FAQs
Do I need to remove the bed frame to paint it?
While you can paint a disassembled frame in place, it is highly recommended to fully disassemble the frame and paint the components outdoors or in a well-ventilated garage. Painting pieces separately:
- Allows you to reach all sides and joints evenly.
- Prevents overspray on walls, floors, or bedding.
- Makes application easier, especially with spray paint, as you can elevate the pieces.
How long does metal paint take to cure?
Drying time (the time until it’s safe to handle and reassemble) is usually 24 to 72 hours. However, curing time (the time until the paint achieves maximum hardness and scratch resistance) can take 7 to 30 days, depending on the humidity and paint type (enamels cure slower than basic spray paints). Handle the frame gently during the first week.
Will painted metal scratch easily?
High-quality metal enamel or acrylic-urethane paint is designed to be very durable and resists typical wear and tear well. It is far more resilient than standard wall paint. However, it will scratch if the metal is struck hard by a sharp object. For the best defense against scratching, apply 2-3 coats of high-quality paint and allow the frame to cure for the full 30 days before placing heavy items near the freshly painted surfaces.
Call to Action
Don’t let rust or an outdated finish ruin the centerpiece of your bedroom. With the right prep work and professional-grade products, a fresh coat of paint can turn any metal bed frame into a design feature.
Ready to transform your furniture? Contact us today to schedule a consultation with our refinishing experts!