
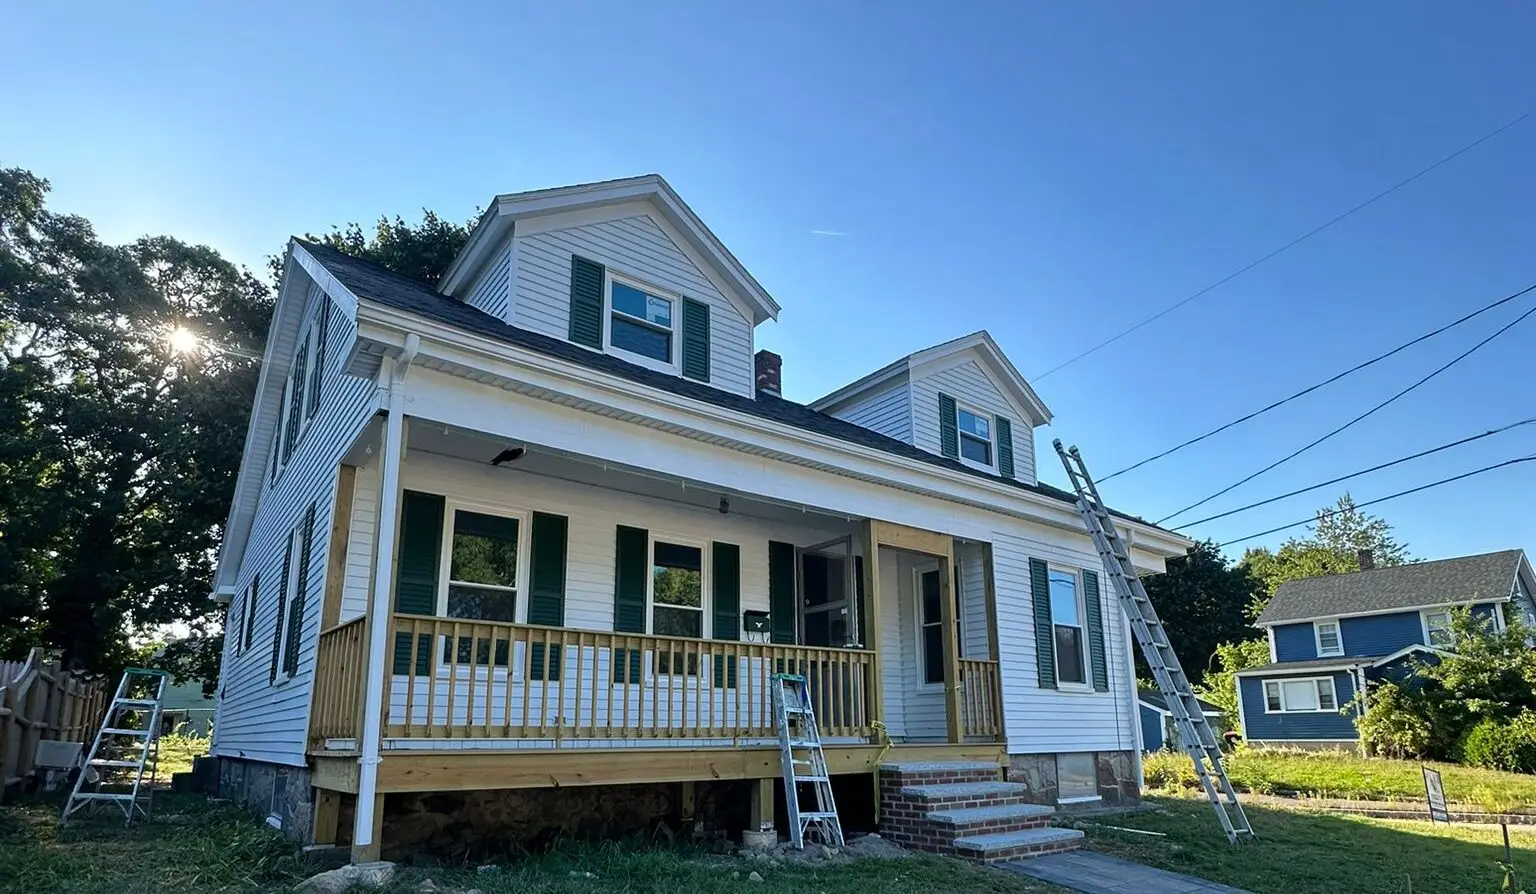
Spray painting is the fastest and most efficient way to cover large surface areas on a home, providing a smooth, factory-like finish that is virtually impossible to achieve with brushes and rollers alone. However, the success of house spraying relies almost entirely on the extensive preparation, masking, and precise technique required to manage the powerful flow of paint.
Can a House Be Spray Painted?
Absolutely. Spraying is the preferred method for high-volume residential and commercial painting, both indoors and outdoors, due to its speed and superior finish quality.
Interior vs. Exterior Spraying
| Application | Primary Surfaces | Preparation Focus | Typical Equipment |
| Interior | Ceilings, doors, trim, cabinets, large walls. | Detailed masking of floors, windows, built-ins, and light fixtures to prevent dust and drips. | Airless sprayer or specialized HVLP (High Volume Low Pressure) for fine finishes on trim/cabinets. |
| Exterior | Siding (vinyl, wood, aluminum), brick, stucco, fascia boards. | Large-scale masking of landscaping, roofs, neighbor’s property, windows, and doors to control overspray. | High-powered airless sprayer capable of handling thick elastomeric or exterior latex paints. |
Surfaces That Spray Well vs. Those That Don’t
- Spray Well: Large, flat surfaces like vinyl or wood siding, smooth drywall ceilings, interior doors, and metal garage doors take spray paint exceptionally well, resulting in a uniform finish.
- Often Require Back-Rolling (or Don’t Spray Well):
- Stucco and Rough Wood: These highly textured or porous surfaces require “back-rolling” or “back-brushing.” This involves spraying the paint onto the surface and immediately following up with a roller or brush to force the paint into the texture and ensure proper adhesion.
- Fine Trim/Cabinets: While they can be sprayed, they require highly specialized, lower-pressure equipment (HVLP) and often need to be lightly sanded between coats.
Professional Spray Painting Process
The core difference between a professional result and a DIY disaster is the execution of the preparatory steps. Professionals often spend 75-80% of their time on prep and masking before the first drop of paint is sprayed.
Masking Windows, Doors, and Fixtures
Masking is the most critical stage of the spray painting process, as paint mist (overspray) can travel significant distances.
- Exterior Masking: Use long rolls of masking paper or plastic sheeting combined with specialized painter’s tape to cover all windows, door frames, gutters, and trim that are not being painted. Professionals often use large masking dispensers that attach the paper/plastic directly to the tape for rapid application.
- Interior Masking: Masking the interior requires extreme precision. All flooring is covered with rosin paper or heavy canvas, light fixtures are carefully wrapped, and any built-in furniture or appliances are draped in plastic sheeting.
- Sealing: The key is to ensure every seam is tightly sealed. A small, overlooked gap can become a path for overspray to creep onto a clean surface.
Priming and Surface Prep
Proper surface preparation is mandatory for the paint to adhere correctly, regardless of the application method.
- Cleaning: Exterior surfaces must be thoroughly power-washed to remove dirt, mildew, and chalky residue. Interior surfaces require sanding and wiping to remove dust and grease.
- Scraping and Sanding: All loose, peeling, or chipping paint must be scraped off and the edges feathered with sandpaper to ensure the new paint lays flat and smooth.
- Priming: A quality primer must be used, especially over bare wood, patched areas, or glossy surfaces. Priming not only blocks stains but provides a bonding surface for the topcoat, which is vital for long-term durability.
Spray Equipment Used by Professionals
The industry standard for painting the main body of a house is the Airless Sprayer.
- Airless Sprayer: This equipment pressurizes the paint itself (up to 3,000 PSI) and forces it through a tiny, specialized tip. It requires no air compressor.
- Benefits: It handles thick, high-viscosity exterior paints easily, provides rapid coverage, and delivers a large volume of material quickly.
- Tip Selection: The tip is the most important variable, determining the fan pattern width and the amount of paint released. Pros select the tip size based on the material (thicker paint needs a larger orifice) and the surface area (a wider fan for siding, a narrower fan for trim).
Pros and Cons of Spray Painting a House
While highly effective, spraying involves trade-offs regarding time, cost, and risk.
Speed and Finish Quality
- Pro: Incredible Speed: A professional can paint the body of an average-sized exterior home in a fraction of the time it would take to roll and brush, often cutting application time by 50% or more.
- Pro: Flawless Finish: Spraying atomizes the paint into a fine mist, resulting in a perfectly smooth, uniform coating free of roller stipple or brush marks. This is especially desirable for modern, smooth-siding homes.
Overspray Risks and Cleanup
- Con: Overspray Risk: This is the greatest hazard. On exterior projects, paint mist can be carried by wind to nearby cars, patios, decks, and neighbor’s property. The extensive time spent masking is purely to mitigate this risk.
- Con: Cleanup Complexity: If masking fails, cleanup can be extremely difficult and sometimes impossible, especially if oil-based paint or solvents are involved. Improperly masked windows will require scraping the paint off the glass.
Why DIY Spray Painting Often Fails
The learning curve for spray painting is steep, and the results can be visibly amateurish without practice and knowledge.
Uneven Coverage
A common failure for DIYers is inconsistent coverage, resulting in stripes, runs, and blotches. This is caused by:
- Inconsistent Speed: Moving the spray gun too slowly causes heavy buildup and runs; moving too fast causes thin, light coverage.
- Inconsistent Distance: Holding the gun closer than 12 inches creates heavy edges; holding it farther away causes too much overspray and a rough, textured finish.
- Improper Overlap: The professional technique requires overlapping each spray pass by 50% to ensure uniform coverage. Beginners often overlap too little, resulting in visible “fat” and “thin” strips of paint.
Paint Waste and Overspray Damage
Airless spraying atomizes a significant portion of paint into the air, and beginners waste even more due to poor technique and excessive pressure settings. The combination of wasted material and the potential for costly damage from uncontained overspray often negates any perceived cost savings from doing the job yourself.
FAQs
Is spray painting better than rolling?
“Better” depends on the goal. Spraying provides the smoothest, fastest application and the best aesthetic finish (no texture). However, rolling and brushing offer better control, use less paint, and are often necessary to work the paint into porous or rough surfaces for maximum longevity and adhesion. Many professionals use a combination: spraying for speed and then immediately “back-rolling” or “back-brushing” the freshly sprayed paint for adhesion.
Does spraying use more paint?
Yes. Spraying typically uses 10% to 30% more paint than rolling/brushing. This is due to the inherent loss of material during atomization—the tiny paint particles that become airborne and never reach the target surface (overspray).
How long does sprayed paint take to dry?
The method of application (spraying, rolling, or brushing) does not affect the drying time of the paint itself. The drying and cure times are dictated solely by the paint’s chemical composition (latex vs. oil), temperature, and humidity. Expect a sprayed coat of latex paint to be dry to the touch in 1–4 hours and ready for a second coat in 4–8 hours.
Ready to tackle your home’s exterior or refinish those interior doors?
Browse our selection of professional-grade airless sprayers, precision masking tapes, and high-solids exterior paints to ensure a flawless finish!