
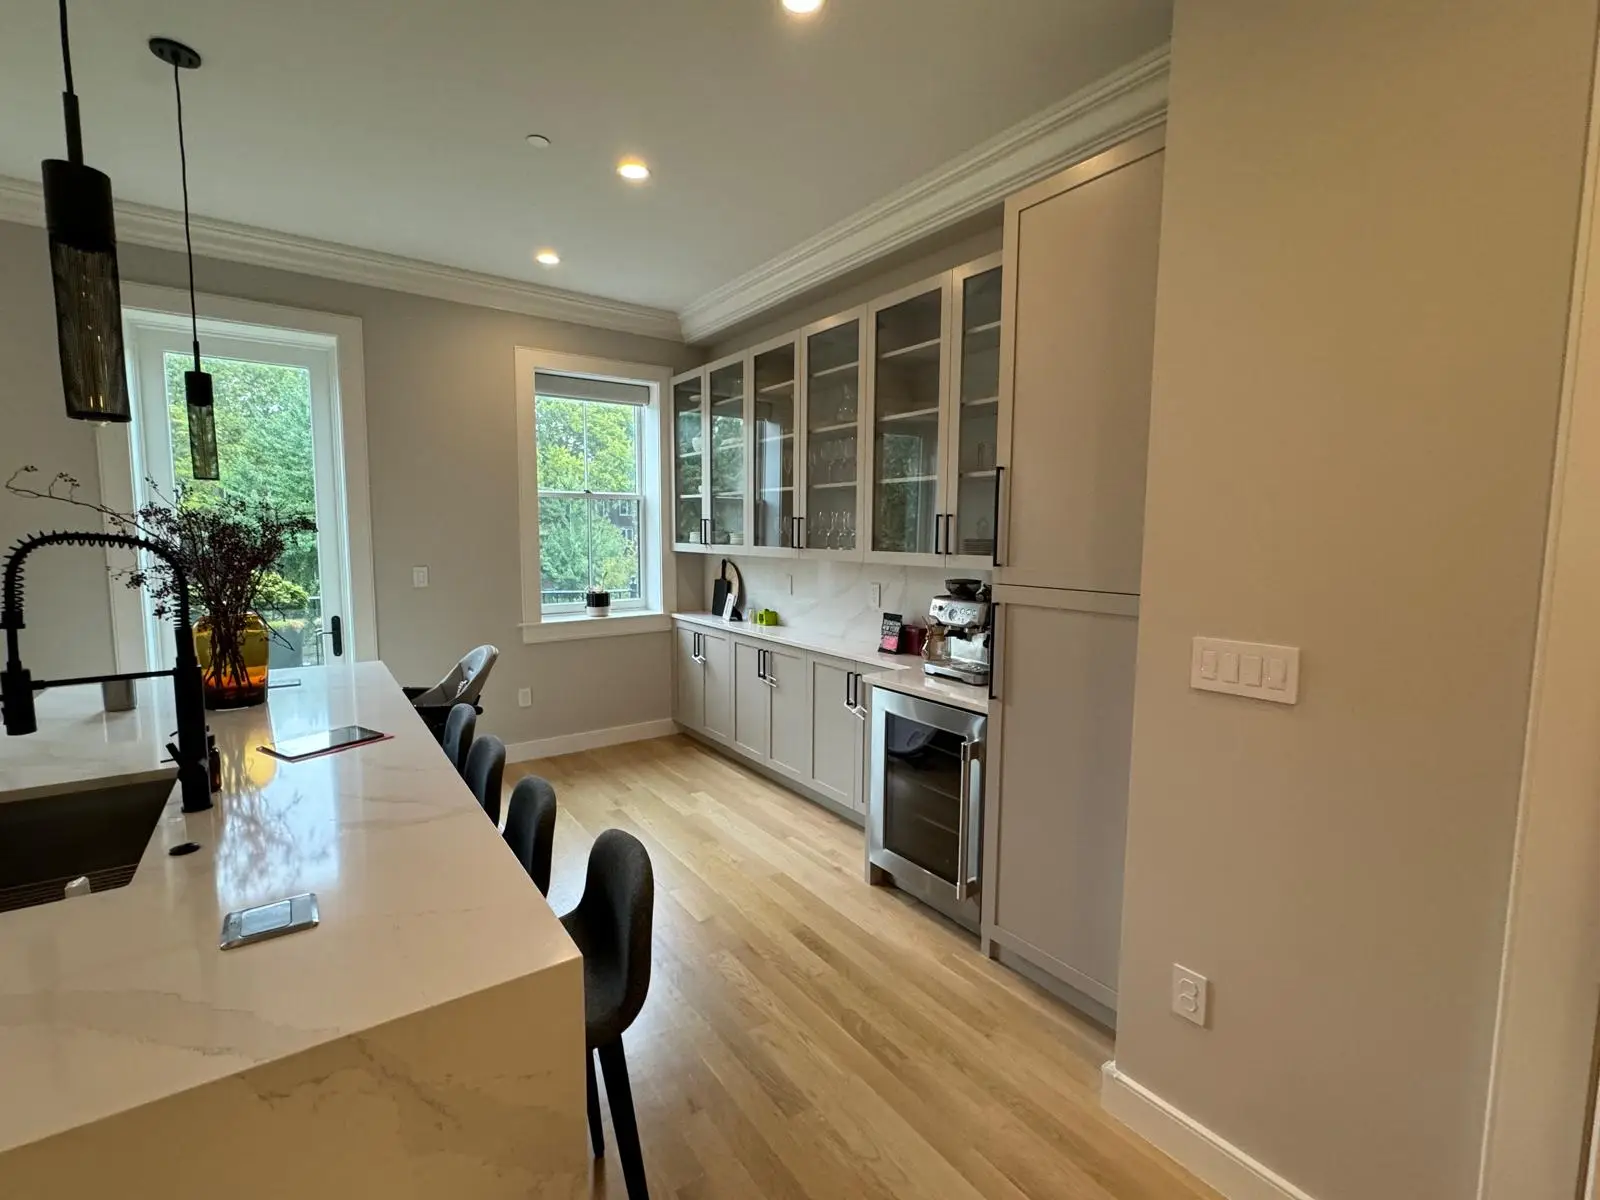
Considering a kitchen facelift on a budget? Painting your countertops might seem like an appealing option. While it’s possible to paint certain types of kitchen countertops, it’s essential to understand the process, its limitations, and what results you can realistically expect before diving in. This guide will walk you through the viability, advantages, disadvantages, and steps involved in painting your kitchen countertops, along with some alternatives.
Is painting countertops a good long-term solution?
Generally, painting kitchen countertops is not considered a long-term solution for a durable and high-traffic surface. While specialized epoxy or countertop paints can offer a significant aesthetic upgrade and temporary improvement, they typically do not provide the same level of durability, heat resistance, or scratch resistance as original countertop materials like granite, quartz, or even laminate.
The longevity of a painted countertop depends heavily on:
- Surface Preparation: Meticulous cleaning, sanding, and priming are crucial.
- Paint Quality: Using specialized, high-durability epoxy or countertop-specific paint kits.
- Sealing: Proper application of a robust topcoat or sealer.
- Usage: How frequently and carefully the countertop is used. Areas with heavy use, like around the sink or stove, will show wear much faster.
Expect a painted countertop to last anywhere from 1 to 5 years before needing touch-ups or a full repaint, significantly less than the 10-20+ years you’d expect from new, solid surface countertops.
Pros and cons of painting kitchen countertops
Before you decide, weigh the benefits against the drawbacks.
Pros:
- Cost-Effective: Significantly cheaper than replacing countertops, making it an excellent budget-friendly renovation option.
- Instant Update: Can dramatically change the look and feel of your kitchen quickly.
- Variety of Styles: Available in kits that mimic natural stone, concrete, or solid colors, allowing for diverse design choices.
- DIY Friendly: Many kits are designed for homeowners to apply themselves, saving on labor costs.
- Temporary Solution: Ideal for rentals, staging a home for sale, or if you’re saving up for a full kitchen remodel.
Cons:
- Durability Concerns: Less durable than original materials; prone to scratches, chips, stains, and heat damage over time.
- Maintenance: Requires more gentle cleaning and care than unpainted surfaces. Hot pots, sharp knives, and abrasive cleaners can easily damage the finish.
- Not a Permanent Fix: As mentioned, it’s generally a temporary aesthetic upgrade, not a permanent structural one.
- Reversibility: While paint can be removed, it’s often a difficult and time-consuming process to fully restore the original surface.
- Skill Required: Achieving a professional-looking finish requires careful preparation and application; mistakes can be noticeable.
What types of countertops can be painted?
Not all countertop materials are good candidates for painting. The best surfaces are those that are relatively smooth and porous enough to allow for good adhesion after proper preparation.
- Laminate Countertops: These are generally the best candidates for painting. Their smooth, non-porous surface can be prepped effectively with sanding and a strong primer to allow new paint to adhere. Most countertop painting kits are designed with laminate in mind.
- Solid Surface (e.g., Corian): These can also be painted successfully with proper preparation, similar to laminate.
- Tile Countertops: Painting over tile is possible, but the grout lines will remain, which might affect the desired smooth finish. A thick epoxy paint or multiple coats might be needed to minimize grout lines.
- Butcher Block/Wood Countertops: While wood can be painted, it’s less common for kitchen countertops due to wood’s natural properties (expansion/contraction) and the potential for chipping with heavy use. It generally requires extensive sanding, priming, and a very durable, food-safe topcoat.
- Formica Countertops: Similar to laminate, Formica is a good candidate for painting after proper prep.
Countertops NOT Recommended for Painting:
- Granite, Quartz, or Marble: These natural stone or engineered stone surfaces are very dense, non-porous, and already highly durable. Painting them is generally discouraged as the paint will struggle to adhere long-term, and it would devalue the premium material underneath.
- Stainless Steel: Not suitable for painting due to its non-porous, slick surface and the constant use/cleaning that would quickly wear away paint.
Step-by-step guide to painting countertops
This is a general overview; always follow the specific instructions provided by your chosen countertop painting kit.
Materials you’ll need:
- Countertop painting kit (includes primer, base coat, decorative chips/flecks if desired, topcoat/sealer)
- Drop cloths or plastic sheeting
- Painter’s tape
- Cleaning supplies (degreaser, cleaner, sponges)
- Sanding block or electric sander with fine-grit sandpaper (150-220 grit)
- Tack cloth
- Foam rollers and brushes
- Tray for paint
- Gloves and safety glasses
- Ventilation fan
The process:
- Prepare the Area:
- Clear everything off your countertops.
- Protect your cabinets, sink, backsplash, and floor with painter’s tape and drop cloths/plastic sheeting.
- Ensure good ventilation by opening windows and using a fan.
- Clean Thoroughly:
- Crucial Step: Use a heavy-duty degreaser and cleaner to remove all grease, grime, and food particles. Rinse thoroughly multiple times to ensure no residue remains.
- Allow the surface to dry completely.
- Sand the Surface:
- Lightly sand the entire countertop surface with fine-grit sandpaper (150-220 grit). This creates a “tooth” for the primer to adhere to.
- For laminate, focus on dulling the sheen.
- Wipe away all sanding dust with a tack cloth or damp rag and let it dry.
- Apply Primer:
- Apply a thin, even coat of the primer included in your kit (or a high-adhesion primer recommended for countertops).
- Use a foam roller for large areas and a brush for edges and corners.
- Allow the primer to dry completely according to manufacturer instructions (this can take several hours). Some kits recommend two coats of primer.
- Apply Base Coat:
- Once the primer is dry, apply the base coat using a fresh foam roller and brush.
- Work in small sections for even coverage.
- Allow to dry completely. You may need a second base coat, especially if you’re covering a dark color with a light one.
- Add Decorative Elements (Optional):
- If your kit includes decorative chips or flecks (to mimic granite), apply them immediately after the final base coat while it’s still wet. Sprinkle them evenly over the surface.
- Apply Topcoat/Sealer:
- This is the protective layer. Apply a generous, even coat of the clear topcoat or epoxy sealer provided in your kit.
- This step is vital for durability and water resistance.
- Follow the kit’s instructions carefully regarding application technique (e.g., pouring and spreading for epoxy) and drying times.
- Many kits recommend multiple thin coats of sealer.
- Cure Time:
- DO NOT use your countertops immediately. The paint and sealer need adequate time to cure and harden, which can take anywhere from 24 hours to a full week depending on the product. Using them too soon will compromise the durability.
- Avoid placing heavy objects, hot items, or cutting directly on the surface until fully cured.
Alternatives to painting for countertop upgrades
If painting doesn’t seem like the right fit for your needs, here are other budget-friendly ways to update your kitchen countertops:
- Peel-and-Stick Countertop Films: These vinyl films come in various patterns (wood, marble, granite) and are a temporary, very low-cost solution. They are easy to apply and remove but offer minimal durability.
- Epoxy Resurfacing Kits (Professional Grade): While similar to painting kits, some high-grade epoxy systems offer superior durability and a thicker, more resilient finish that can better mimic solid surfaces. These are often more complex to apply but can last longer than simple paint.
- New Laminate Countertops: Replacing old laminate with new laminate is a cost-effective option for a complete refresh. Laminate offers good durability and a vast array of colors and patterns at a fraction of the cost of stone.
- Butcher Block Countertops: While requiring more maintenance (oiling), butcher block can be an affordable and warm alternative, especially when used for specific sections or an island.
- Concrete Overlays: For a modern industrial look, concrete overlays can be applied over existing countertops. This is a more involved DIY project but offers a very durable and custom finish.
Ready to give your kitchen a fresh new look? Explore the possibilities of painting or consider these other exciting upgrade options!