
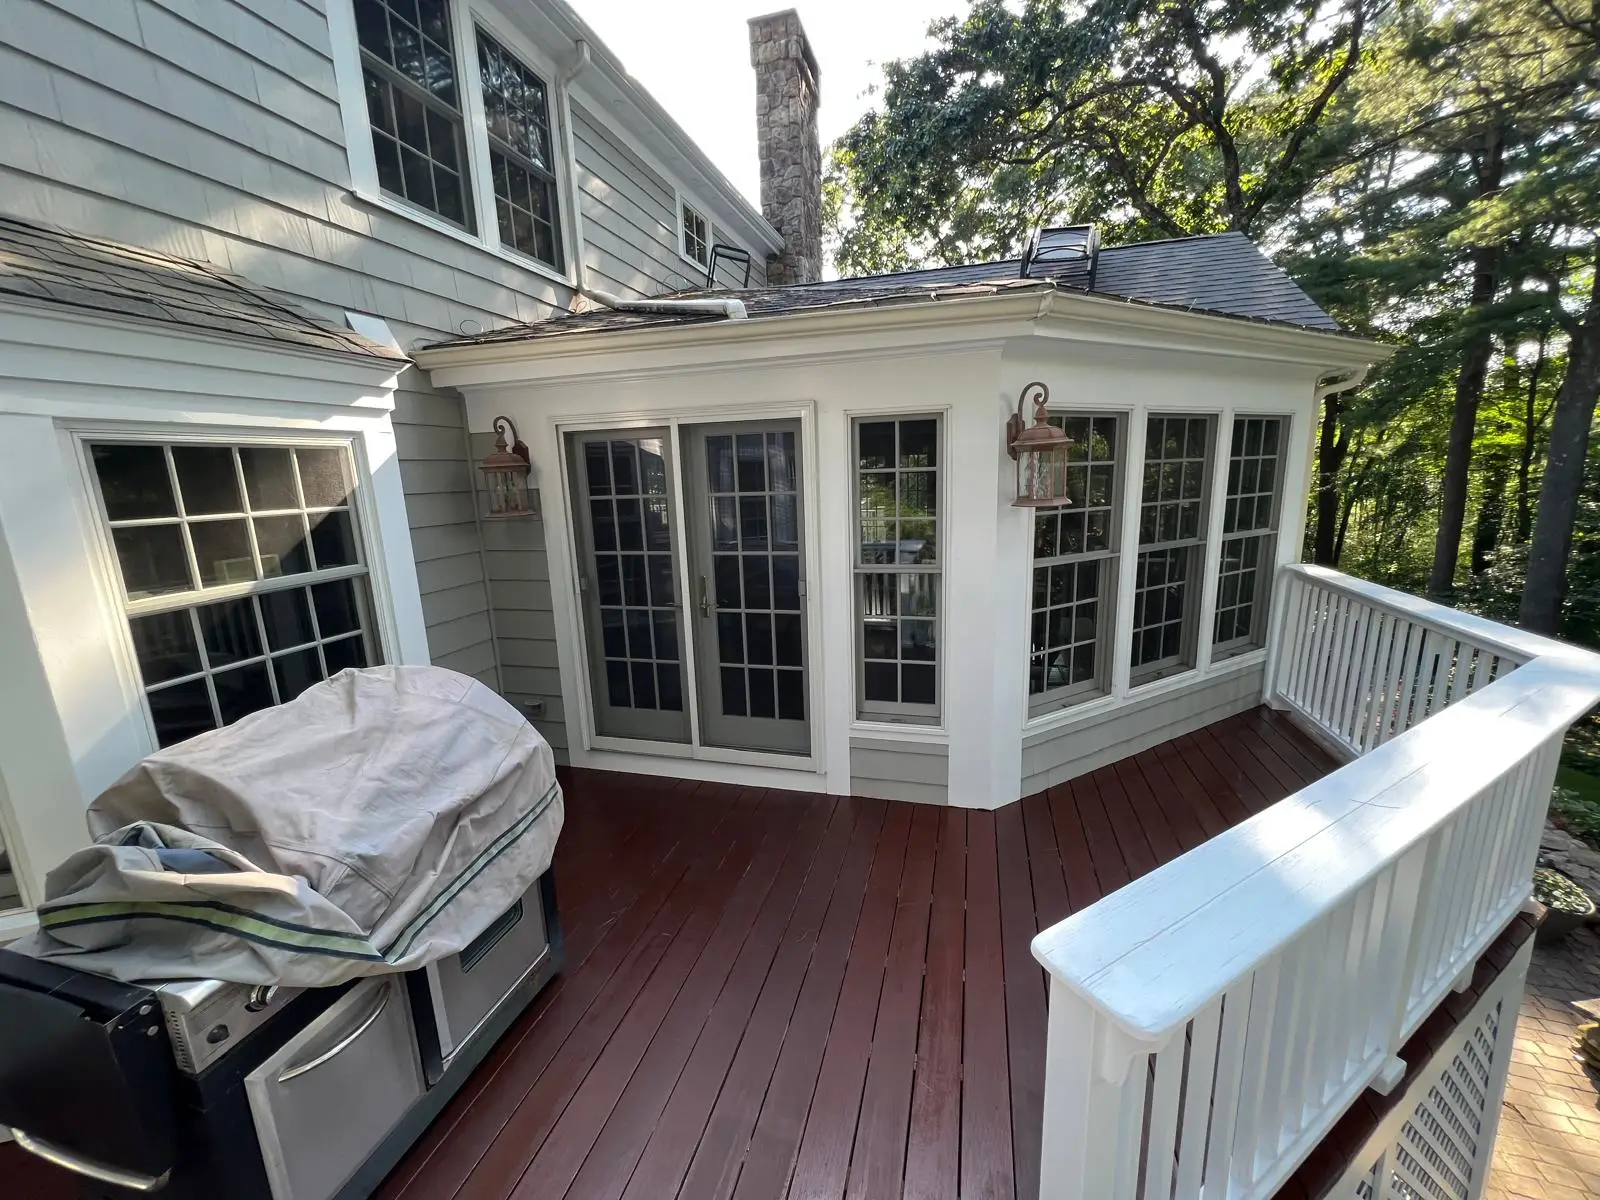
Vinyl windows are a popular choice for many homeowners due to their durability, energy efficiency, and low maintenance. However, over time, their color can fade, or you might simply want a new look to match a home renovation or updated exterior. This often leads to the question: can you paint vinyl windows? The answer is yes, but with important considerations and proper techniques. This guide will walk you through the viability of painting vinyl windows, its advantages and disadvantages, the right materials, and a step-by-step process to achieve a professional finish.
Is painting vinyl windows a good idea?
Painting vinyl windows can be a cost-effective way to refresh your home’s appearance without the expense of full window replacement. It’s a particularly attractive option if your vinyl frames are still in good structural condition but are showing signs of fading, minor discoloration, or simply no longer match your aesthetic preferences.
However, it’s not a decision to be taken lightly. Successful painting requires careful preparation, the right type of paint, and a commitment to proper application. Done incorrectly, painted vinyl can peel, chip, or even warp the window frames. When done correctly, it can significantly extend the visual lifespan of your windows and enhance your home’s curb appeal.
Pros and cons of painting vinyl window frames
Before you decide to pick up a paintbrush, it’s important to weigh the advantages and disadvantages of painting vinyl window frames.
Pros:
- Cost-Effective Refresh: Painting is significantly less expensive than replacing entire windows, offering a fresh look without a major investment.
- Aesthetic Customization: It allows you to perfectly match your window frames to your home’s exterior or interior color scheme, providing a high degree of customization.
- Improved Curb Appeal: A fresh coat of paint can instantly update the appearance of your home, potentially increasing its market value.
- Protection (to an extent): A good quality paint can offer an additional layer of protection against UV rays, which can cause vinyl to fade over time.
Cons:
- Potential for Damage/Warping: Using the wrong type of paint, especially darker colors that absorb more heat, can cause the vinyl to warp or distort. This is a critical concern, as warped vinyl can compromise window functionality and energy efficiency.
- Durability Concerns: While modern paints are designed to adhere well, painted vinyl may not last as long or be as maintenance-free as factory-finished vinyl. Peeling, chipping, or scratching can occur over time, especially in high-traffic areas or harsh weather.
- Extensive Preparation Required: Achieving a durable finish on vinyl requires thorough cleaning, sanding, and priming, which can be time-consuming.
- Voiding Warranty: Painting your vinyl windows might void the manufacturer’s warranty. It’s crucial to check your window’s warranty policy before proceeding.
- Maintenance: Painted vinyl will eventually need repainting, adding to future maintenance tasks.
What type of paint works on vinyl windows?
Choosing the right paint is paramount to a successful and long-lasting finish on vinyl windows. Not all paints are suitable for this material.
The most critical factor is to select a 100% acrylic latex exterior paint that is specifically formulated for use on vinyl or plastic surfaces. These paints are designed to be flexible, allowing them to expand and contract with the vinyl as temperatures change, which helps prevent cracking and peeling.
Look for paint products that explicitly state they are:
- For Vinyl or Plastic Surfaces: This is key for proper adhesion and flexibility.
- Exterior Grade: This ensures durability against weather, UV rays, and temperature fluctuations.
- 100% Acrylic Latex: Acrylic resins provide the necessary flexibility and adhesion.
- Light Colors Recommended: To prevent heat absorption and potential warping, it is highly recommended to stick to lighter colors. Darker colors absorb more heat, which can cause vinyl to soften, warp, and distort. If you must use a darker color, look for “vinyl-safe” paint that contains heat-reflective pigments.
- Primer: A high-quality acrylic bonding primer designed for plastics or non-porous surfaces is essential to ensure excellent adhesion of the topcoat.
Avoid: Oil-based paints, as they become brittle with age and will crack and peel off flexible vinyl. Also, avoid interior-only paints, as they lack the durability needed for exterior exposure.
Step-by-step guide to painting vinyl windows
Achieving a durable and attractive finish on vinyl windows is possible with careful preparation and proper application. Follow these steps for the best results:
Step 1: Clean thoroughly
- Remove Loose Debris: Start by brushing off any loose dirt, dust, or cobwebs from the window frames.
- Wash with Mild Detergent: Mix a few drops of mild dish soap with warm water. Use a soft cloth or sponge to thoroughly clean the vinyl frames, removing all grime, grease, mildew, and chalky residue.
- Rinse Completely: Rinse the frames completely with clean water to remove all soap residue. Any leftover soap can interfere with paint adhesion.
- Allow to Dry: Ensure the vinyl frames are completely dry before proceeding. This might take several hours, or you can speed it up with a leaf blower or fan on a low setting.
Step 2: Prepare the area
- Remove Hardware: If possible, remove any window hardware, such as locks, latches, or screen clips. If they cannot be removed, tape them off.
- Mask Glass and Surrounding Areas: Use painter’s tape to carefully mask off all glass panes, hinges, and any adjacent siding or trim that you don’t want painted. Press the tape firmly to create a crisp line and prevent bleed-through.
- Lay Drop Cloths: Place drop cloths or plastic sheeting on the ground beneath the windows to protect landscaping and surfaces from paint drips.
Step 3: Lightly sand (optional but recommended)
- Sanding for Adhesion: While not always strictly necessary with modern bonding primers, a light sanding can significantly improve paint adhesion. Use a fine-grit sandpaper (220-grit or higher) or a sanding sponge.
- Gentle and Even: Lightly scuff the entire surface of the vinyl frames. The goal is to create a slightly textured surface for the primer to grip, not to remove the vinyl itself.
- Clean Dust: After sanding, wipe down the frames with a tack cloth or a damp cloth to remove all sanding dust. Let it dry completely.
Step 4: Apply primer
- Use an Acrylic Bonding Primer: Apply a thin, even coat of a high-quality acrylic bonding primer specifically designed for plastics or non-porous surfaces.
- Even Coverage: Use a good quality synthetic brush for detailed areas and a small foam roller for flatter surfaces. Avoid applying too thickly, as this can lead to drips and a less smooth finish.
- Allow to Cure: Let the primer dry and cure completely according to the manufacturer’s instructions, which can range from a few hours to overnight.
Step 5: Apply paint
- First Coat: Once the primer is dry, apply a thin, even first coat of your chosen 100% acrylic latex exterior paint designed for vinyl. Again, use a high-quality synthetic brush and/or foam roller.
- Work in Sections: Work systematically, ensuring full coverage without heavy buildup.
- Drying Time: Allow the first coat to dry completely according to the paint manufacturer’s recommendations (usually 4-6 hours, but check the label).
- Second Coat: Apply a second thin, even coat of paint. Two thin coats are always better than one thick coat for durability and a smoother finish.
- Additional Coats (If Needed): If you are changing a very dark color to a very light one, or vice-versa, a third thin coat might be necessary for full opacity.
Step 6: Final touches
- Remove Tape: While the paint is still slightly tacky (but not wet), carefully remove the painter’s tape. Pull it slowly at a 45-degree angle to get clean lines. If you wait until the paint is fully cured, it might peel off with the tape.
- Reinstall Hardware: Once the paint is completely dry and cured, reattach any hardware you removed.
- Curing Time: Be gentle with your newly painted windows for several days to a week. Paint continues to cure and harden even after it feels dry to the touch. Avoid aggressive cleaning or scraping during this period.
Alternatives to painting for a fresh look
If painting your vinyl windows seems too daunting, risky, or simply not the right fit for your situation, there are other ways to refresh their look and enhance your home’s aesthetic.
- Deep Cleaning and Restoration: Sometimes, all your vinyl windows need is a thorough, professional cleaning. Specialized vinyl cleaners can remove years of grime, oxidation, and discoloration, restoring their original luster. This is often the first and most cost-effective step.
- Window Film: Decorative or privacy window films can be applied to the glass panes to change their appearance. While this doesn’t alter the frame color, it can significantly impact the overall look and feel of the window.
- Exterior Trim and Siding Renovation: Updating the colors of your home’s exterior trim, siding, or front door can draw attention away from your window frames and create a harmonious new color scheme that makes the existing windows blend in better.
- New Window Treatments: For interior aesthetics, installing new blinds, shades, curtains, or drapes can completely transform the look of your windows and the room, making the frame color less noticeable.
- Professional Vinyl Wrapping: While less common for residential windows, some companies offer professional vinyl wrapping services. This involves applying a durable vinyl film directly to the window frames, offering a wide range of colors and textures without the risks associated with paint. This is often more expensive than painting but can offer factory-like finishes and durability.
- Full Window Replacement: If your windows are old, damaged, or severely faded, and you’re considering a significant home upgrade, full window replacement might be the best long-term solution. This allows you to choose brand new, energy-efficient windows in any color or material, often coming with strong warranties.
Ready to revitalize your home’s exterior or ensure your painting project is handled with expertise and care?
Contact Mass Pro Painting today for a free consultation and estimate! Whether it’s painting your window frames or tackling a full exterior transformation, our skilled team delivers exceptional quality and lasting results.