
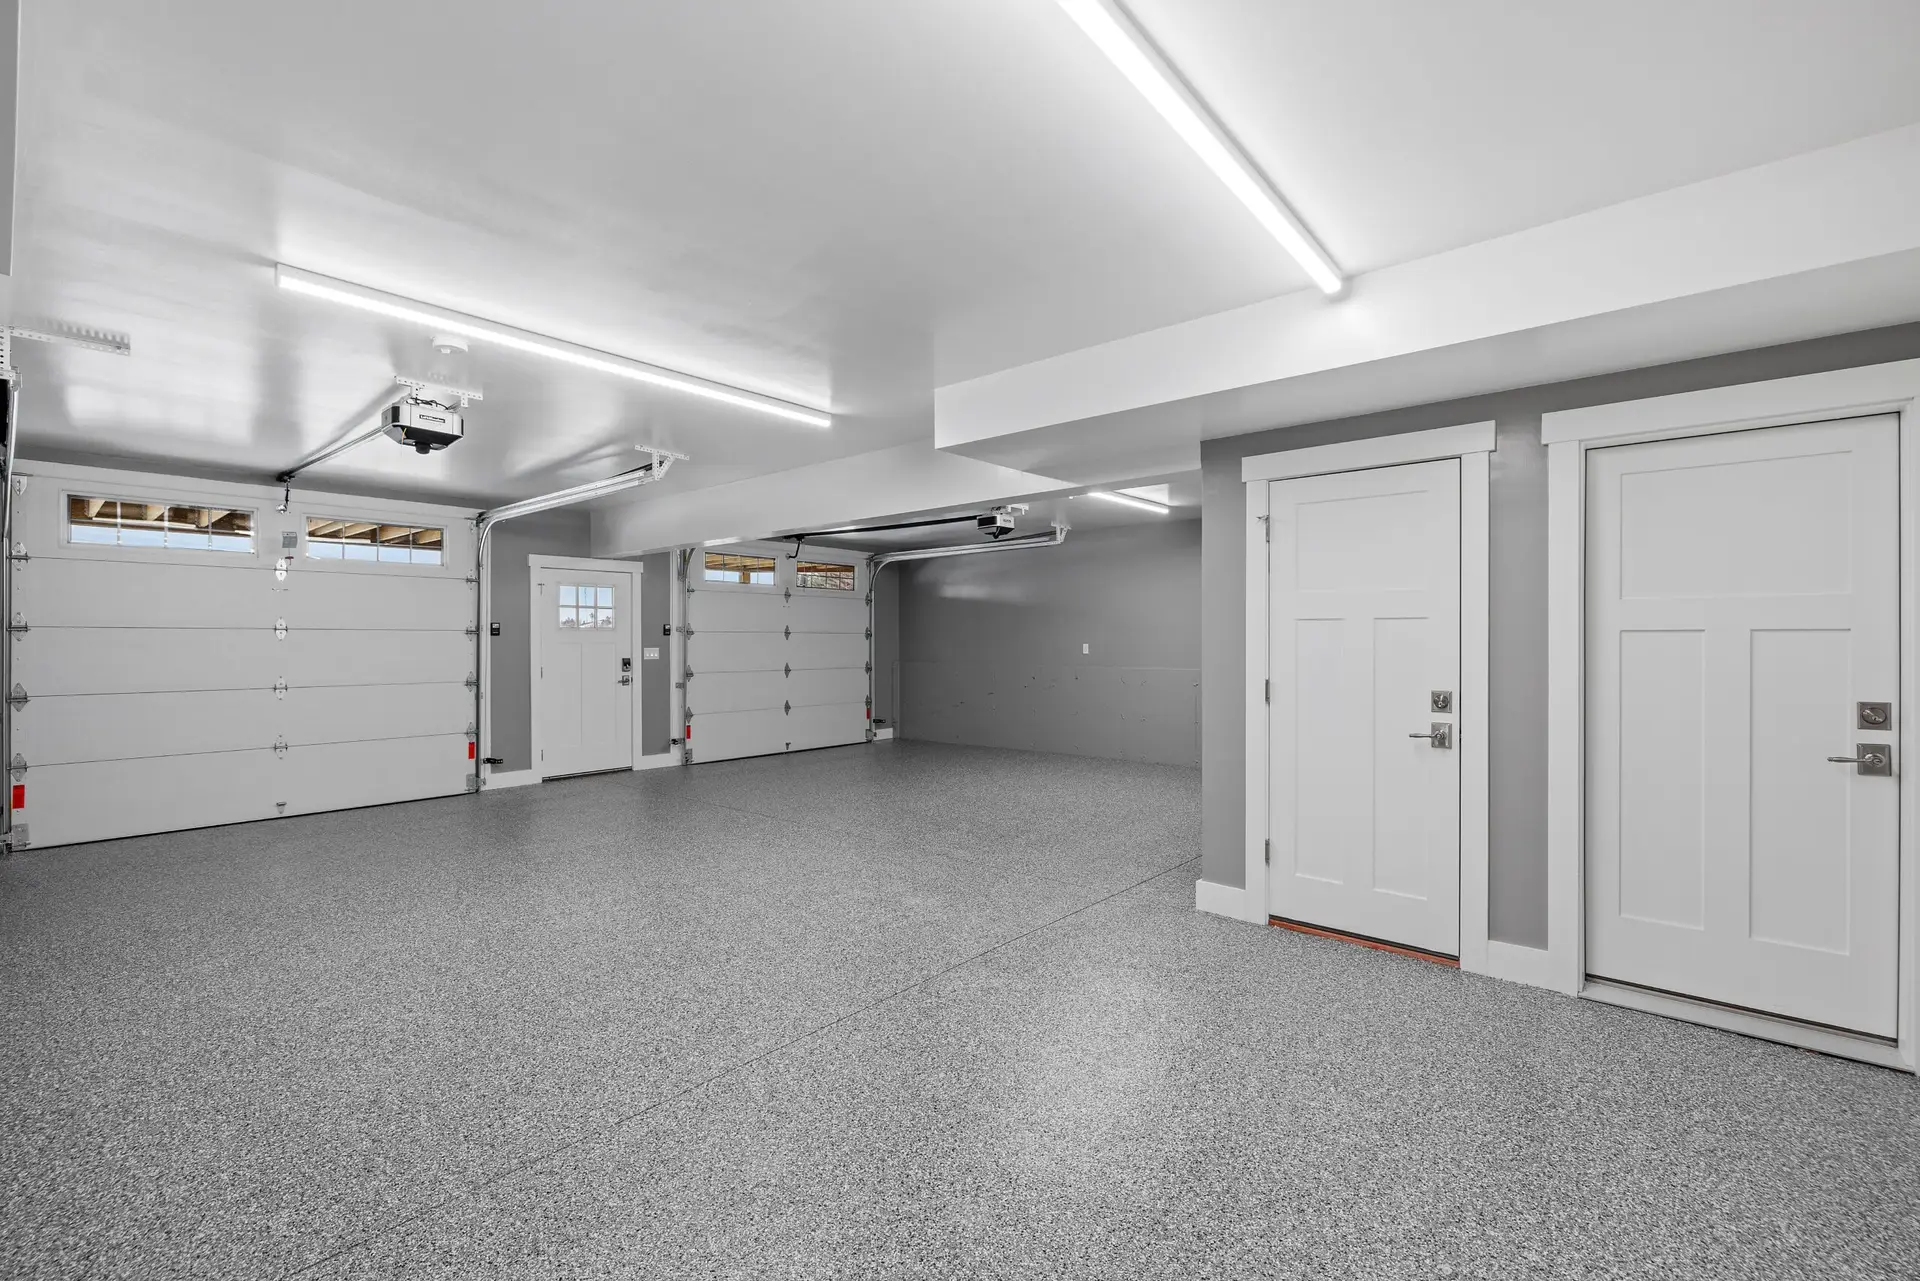
Your garage floor takes a beating, enduring everything from hot tires and oil spills to dropped tools and general wear and tear. A bare concrete slab can quickly become stained, dusty, and uninviting. Painting your garage floor is an excellent way to not only improve its appearance but also provide a protective layer that extends its lifespan and makes maintenance a breeze. With the right preparation and materials, you can transform your garage into a cleaner, brighter, and more functional space that stands up to the demands of everyday use.
Why paint a garage floor? Benefits and value
Painting your garage floor offers a range of practical and aesthetic advantages that contribute to both its utility and your home’s overall value.
Benefits:
- Enhanced Aesthetics: A painted floor instantly upgrades the look of your garage, transforming it from a dull, gray utility space into a more organized and appealing area. You can choose colors and finishes that complement your home’s style.
- Dust Reduction: Unsealed concrete constantly releases fine dust that settles on everything. Paint acts as a sealant, drastically reducing this dust and keeping your garage and even your home cleaner.
- Easier to Clean: Painted surfaces are smooth and non-porous, making them incredibly easy to sweep, vacuum, and mop. Spills like oil, grease, or chemicals bead up on the surface, preventing them from soaking into the concrete and making cleanup quick and simple.
- Stain Resistance: Paint creates a barrier against common garage stains, protecting the concrete beneath.
- Moisture Protection: While not a waterproofing solution, a painted floor can offer some resistance to surface moisture and spills, helping to prevent water penetration into the concrete itself.
- Increased Durability and Protection: The right paint, especially an epoxy coating, strengthens the concrete surface, making it more resistant to abrasions, chipping, and cracks caused by vehicle traffic, heavy tools, and impact.
- Brighter Space: Lighter colored paints reflect light, helping to brighten a typically dark garage, making it feel more open and safer.
- Defines the Space: A finished floor makes the garage feel like a more integrated part of your home, especially if you use it for hobbies, a home gym, or a workshop.
Value:
- Curb Appeal: A clean, well-maintained garage can add to your home’s curb appeal, even if it’s primarily a functional space.
- Property Value: While not a major renovation, a durable and attractive garage floor can be a selling point, showing potential buyers that the home is well-cared for from top to bottom.
- Personal Enjoyment: Beyond monetary value, the increased functionality and pleasantness of a finished garage significantly enhance your personal enjoyment of the space.
Best types of garage floor paint (Epoxy vs Latex)
Choosing the right type of paint is critical for a durable and long-lasting garage floor finish. The primary options are epoxy coatings and latex concrete paints.
1. Epoxy coatings (recommended for garages)
Epoxy is a high-performance resin that, when properly applied, creates an incredibly hard, durable, and chemical-resistant surface. It’s generally considered the gold standard for garage floors.
- 1-Part Epoxy (Epoxy Acrylic):
- Description: These are essentially reinforced latex paints with a small amount of epoxy resin. They are easier to apply than 2-part epoxies and water-based for easy cleanup.
- Pros: Good durability compared to standard latex paint, easy to apply, lower cost than 2-part epoxy.
- Cons: Not as durable or chemical-resistant as 2-part epoxy. Can chip or peel under heavy use (e.g., frequent hot tire traffic).
- Best For: Low-traffic garages, workshops with light use, or as an economical upgrade.
- 2-Part Epoxy (100% Solids Epoxy or Water-Based 2-Part Epoxy):
- Description: This type comes in two separate components (a resin and a hardener) that are mixed just before application. The chemical reaction during mixing creates an extremely tough, long-lasting finish. 100% solids epoxy is the most durable but also the most challenging to work with due to its short pot life and thickness. Water-based 2-part epoxies are easier to apply and a popular choice for DIYers.
- Pros: Exceptional durability, superior resistance to hot tire pickup, oil, grease, chemicals, and abrasion. Provides a glossy, professional-looking finish. Can last for many years.
- Cons: More expensive, more challenging to apply (especially 100% solids due to short working time), requires precise mixing, can have strong fumes.
- Best For: High-traffic garages, commercial spaces, or anyone seeking the most robust and long-lasting finish. Highly recommended for most residential garages.
2. Latex concrete paint (acrylic latex)
Standard latex concrete paint is similar to exterior house paint but formulated for concrete surfaces.
- Description: Water-based acrylic latex paints designed to bond with concrete.
- Pros: Inexpensive, easy to apply (no mixing), easy cleanup, wide range of colors available.
- Cons: Least durable option for a garage. Prone to hot tire pickup, chipping, scratching, and staining. Will require more frequent re-coating.
- Best For: Low-use utility rooms, porches, or very light-duty garage use where aesthetics are prioritized over heavy-duty protection. Generally not recommended for active garages.
Recommendation: For the best results and durability in a garage environment, a 2-part epoxy coating is the superior choice. If budget or application difficulty is a major concern, a high-quality 1-part epoxy is a decent compromise, but understand its limitations.
Step-by-step guide to painting a garage floor
Painting your garage floor is a multi-step process that demands attention to detail. This general guide outlines the key stages. Always refer to the specific instructions provided by your chosen paint manufacturer, as products can vary.
- Preparation (Crucial!): This is the most important phase. The success and longevity of your painted floor depend almost entirely on how well you prepare the concrete. This involves thoroughly cleaning, degreasing, repairing, and etching the surface. (Detailed in “How to Prepare Concrete for Painting” below).
- Masking: Once the floor is clean and dry, use high-quality painter’s tape to mask off the bottom edges of garage walls, support pillars, and any other areas you don’t want to get paint on.
- Mixing the Paint (for Epoxy): If using a 2-part epoxy, carefully follow the manufacturer’s instructions for mixing the resin and hardener. This is time-sensitive, as the mixed product has a limited “pot life” (working time). Mix only what you can apply within that timeframe.
- Primer Application (If Required): Some systems recommend or require a dedicated concrete primer, especially if the concrete is very porous or if you’re switching paint types. Apply a thin, even coat using a roller with an extension pole, cutting in edges with a brush. Allow to dry completely as per instructions.
- First Coat of Paint:
- Start by using a brush to “cut in” along the masked edges, corners, and around any floor obstacles.
- Using a roller with an extension pole, apply a thin, even coat of paint to the main floor area. Work in small sections, typically 4×4 feet, maintaining a “wet edge” to avoid lap marks.
- Plan your exit carefully so you don’t paint yourself into a corner!
- Drying Time (Between Coats): Allow the first coat to dry completely according to the manufacturer’s instructions. This is crucial and can vary widely (e.g., 4-24 hours). Do not re-coat too soon.
- Second Coat of Paint: Apply a second coat of paint in the same manner as the first. This provides richer color, better coverage, and enhanced durability.
- Drying and Curing Time: The floor will be dry to the touch within a day or two, but it needs time to cure (harden completely) before heavy use. This can take anywhere from 3 days for light foot traffic to up to 7-30 days for full vehicle traffic or heavy items. Avoid dragging items or exposing the floor to heavy use during the curing period.
How to prepare concrete for painting
This is the most critical stage. Skimping on preparation will inevitably lead to paint failure (peeling, chipping) down the road.
- Clear the Garage Completely: Remove all vehicles, tools, storage, and anything else from the garage floor. This is a big job, but essential.
- Initial Cleaning:
- Sweep the entire floor thoroughly to remove loose dirt, dust, and debris.
- Use a shop vacuum for a more thorough clean, especially in corners and cracks.
- Degreasing:
- Inspect the floor for oil, grease, or chemical stains.
- Apply a heavy-duty concrete degreaser (available at hardware stores) directly to these spots.
- Scrub vigorously with a stiff-bristle brush. For stubborn stains, repeat the process.
- Rinse the degreaser thoroughly according to product instructions.
- Repair Cracks and Spalls:
- Clean out any cracks, holes, or spalled areas with a wire brush or scraper.
- Use a concrete crack filler or patching compound specifically designed for garage floors.
- Follow the product’s instructions for application and curing time.
- Once cured, sand or grind any repaired areas smooth and flush with the surrounding concrete.
- Concrete Etching:
- Etching creates a porous, textured surface that allows the paint to properly bond. This is crucial for adhesion.
- Option A: Acid Etching: Use a diluted muriatic acid solution or a safer, more eco-friendly concrete etcher/cleaner.
- Always wear heavy-duty rubber gloves, safety goggles, and a respirator mask.
- Wet the floor first (as per product instructions).
- Apply the etching solution evenly using a plastic watering can or sprayer.
- Let it sit and fizz for the recommended time (typically 10-20 minutes).
- Scrub with a stiff-bristle brush.
- Rinse, Rinse, Rinse! This is paramount. Use a garden hose to thoroughly rinse the entire floor multiple times, pushing the excess water out of the garage with a squeegee. You must remove all etching residue. A clean rinse means no suds are forming.
- Option B: Mechanical Abrasion: For a superior bond, consider renting a concrete grinder or hiring a professional. This method physically roughs up the surface without chemicals.
- Final Rinse and Drying:
- After etching and rinsing, perform one final thorough rinse with clean water.
- Allow the floor to dry completely. This is critical. Depending on humidity, temperature, and concrete porosity, this can take 24-72 hours.
- Moisture Test (Recommended): Tape 1×1 foot squares of plastic sheeting onto various spots on the dry concrete. If condensation forms underneath after 24 hours, you have a moisture issue that must be addressed (e.g., dehumidifiers, improving exterior drainage) before painting, or the paint will fail.
Pro tips for long-lasting results
To ensure your painted garage floor looks great and lasts for years, keep these professional tips in mind:
- Don’t Rush Preparation: As emphasized, prep is everything. Dedicate ample time to cleaning, degreasing, repairing, and etching. Any shortcuts here will lead to premature paint failure.
- Invest in Quality: Choose a high-quality 2-part epoxy garage floor coating system. While it’s a larger upfront investment, it will save you time and money in the long run compared to cheaper, less durable options.
- Read Instructions Carefully: Every product is different. Pay close attention to mixing ratios, pot life, application temperatures, re-coat times, and curing times specified by the manufacturer.
- Ventilation is Key: Work in a well-ventilated garage. Open doors and windows, and use fans to move air. This is crucial for safety and proper drying. Always wear appropriate PPE (respirator, gloves, goggles).
- Thin, Even Coats: Avoid applying paint too thickly. Multiple thin, even coats are always better than one thick coat, as they cure harder and are less prone to peeling.
- Maintain a Wet Edge: When rolling, work quickly and maintain a “wet edge” by overlapping your previous pass slightly. This helps prevent roller marks and ensures a seamless finish.
- Work in Sections: Mentally divide your garage floor into manageable sections and work backward toward the exit to avoid painting yourself into a corner.
- Consider Decorative Flakes: For an extra touch of style and added texture (which can improve slip resistance), consider adding decorative color flakes (chips) into the wet final coat of epoxy.
- Anti-Slip Additives: If slip resistance is a concern, especially in areas that might get wet, consider mixing an anti-slip additive (often a fine grit) into your final coat of paint or sealer.
- Allow Full Cure Time: Resist the urge to use your garage immediately. Adhere strictly to the recommended curing time (often 7 days for vehicles, up to 30 days for full hardness). Driving on it too soon can damage the freshly cured paint.
- Proper Maintenance: Regularly sweep to remove grit. Clean spills promptly with mild soap and water. Avoid harsh chemicals or abrasive cleaners. Use furniture pads under heavy items or workbenches.
Ready to give your garage the ultimate upgrade with a durable and attractive painted floor? Gather your supplies, dedicate the time, and transform your garage into a space you’ll love!