
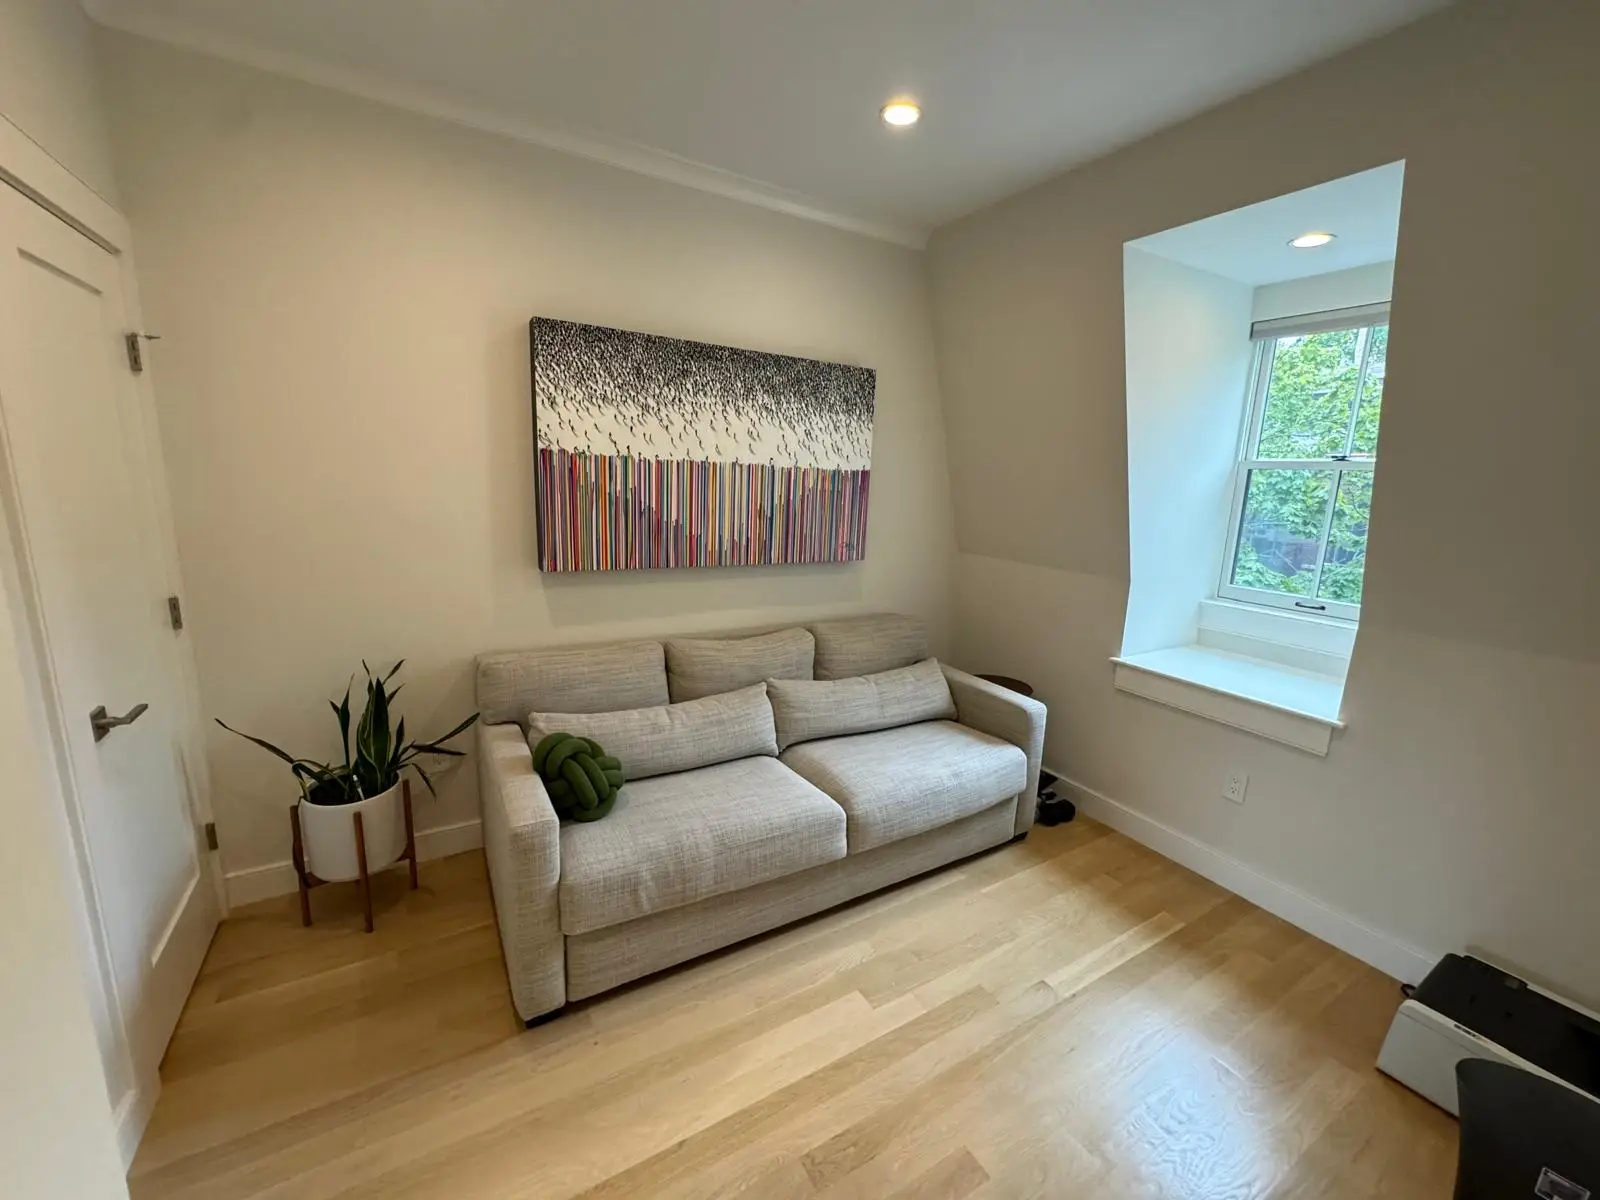
Cleaning walls before painting is perhaps the most overlooked yet critical step in achieving a professional, long-lasting, and beautiful paint finish. Skipping this vital preparation can lead to various problems, including poor paint adhesion, uneven color, and a finish that flakes or peels prematurely. Dust, dirt, grease, and grime accumulate on walls over time, creating a barrier between the paint and the surface. A clean, smooth surface ensures that the paint adheres properly, resulting in a durable and flawless result that you’ll be proud of for years to come. Think of it as laying a strong foundation before building a beautiful structure – it’s essential for stability and longevity.
Standard cleaning: Warm water + mild soap or dish detergent
For most general cleaning, a simple solution of warm water and a mild cleaning agent is usually sufficient to remove surface dust, light dirt, and general grime. This method is gentle on most wall surfaces and effective for everyday accumulation.
- Materials Needed:
- Two buckets (one for cleaning solution, one for clean rinse water)
- Soft sponges or microfiber cloths
- Mild dish soap (e.g., Dawn, Palmolive) or a specialized mild all-purpose cleaner
- Drop cloths or old towels to protect floors and furniture
- Rubber gloves (optional, but recommended for protecting hands)
- The Solution:
- Fill one bucket with warm water.
- Add a few drops (about 1-2 teaspoons per gallon of water) of mild dish soap or all-purpose cleaner. You want just enough to create a slightly sudsy solution, not a foamy one. Too much soap can leave a residue that will need extra rinsing.
- Application Method:
- Work in Sections: Start at the top of a wall and work your way down in manageable sections (e.g., a 3×3 foot area). This prevents streaks and ensures consistent cleaning.
- Apply Solution: Dip a clean sponge or microfiber cloth into the soapy water, wring out any excess so it’s damp, not dripping. Gently wipe the wall in a consistent motion. Avoid saturating the wall, especially if it’s drywall, as excessive moisture can cause damage.
- Rinse Immediately: Immediately after washing a section, use a separate clean sponge or cloth dampened with plain, clean warm water from your second bucket to wipe away any soap residue. Rinsing is crucial to prevent streaks and ensure the paint has a clean surface to adhere to. Change the rinse water frequently as it becomes dirty.
- Repeat: Continue this process section by section until the entire wall is clean.
- When to Use This: This method is ideal for walls that appear generally clean but have accumulated dust, fingerprints, or light, non-greasy marks. It’s a great baseline cleaning step for almost all interior painting projects.
Tackling grease: When to use TSP or vinegar solutions
When dealing with greasy grime, especially in kitchens, bathrooms, or high-traffic areas, warm water and mild soap might not be enough. For these tougher challenges, stronger degreasing agents like TSP (Trisodium Phosphate) or a vinegar solution are necessary.
- TSP (Trisodium Phosphate):
- What it is: TSP is a heavy-duty cleaner and degreaser. It’s highly effective at cutting through stubborn grease, smoke residue, and heavy dirt.
- When to use: Ideal for kitchens (especially around stovetops), walls with smoke residue (from fireplaces or smoking indoors), and extremely dirty surfaces.
- Caution: TSP is a strong chemical.
- Always wear protective gear: Rubber gloves, eye protection, and old clothes are essential.
- Ventilation: Ensure the area is well-ventilated.
- Protect surfaces: Cover floors, countertops, and furniture with drop cloths as TSP can damage or discolor certain materials.
- Read instructions: Follow the manufacturer’s mixing instructions carefully (usually 1/2 cup of TSP per gallon of warm water).
- Rinsing: Requires thorough rinsing to remove all residue, as any remaining TSP can interfere with paint adhesion.
- Application: Apply the solution with a sponge, scrub greasy areas, and then rinse repeatedly with clean water until no residue remains.
- Vinegar Solution:
- What it is: A natural, non-toxic alternative to TSP for cutting through light to moderate grease and grime. It’s also effective at neutralizing odors and killing mold/mildew.
- When to use: Good for kitchens with moderate grease, bathrooms with soap scum, or for a general, eco-friendly deep clean.
- Caution: While safer than TSP, vinegar can be acidic. Test on an inconspicuous area first, especially on delicate finishes. The smell can be strong but dissipates quickly.
- The Solution: Mix equal parts white vinegar and warm water (e.g., 1 cup vinegar to 1 cup warm water).
- Application: Apply with a sponge, gently scrub the affected areas, and then rinse thoroughly with clean water.
Important Note: For both TSP and vinegar, after cleaning, it is absolutely critical to rinse the walls thoroughly with plain, clean water multiple times. Any residue left behind will compromise paint adhesion, leading to peeling or bubbling. Allow the walls to dry completely before proceeding with painting.
Steps: Dusting, washing, rinsing, full drying process
A systematic approach ensures that every step contributes to a clean, ready-to-paint surface. Follow these steps for optimal results:
- Prepare the Room:
- Clear the Space: Remove all furniture, décor, and wall hangings from the room. If large furniture cannot be removed, move it to the center of the room and cover it completely with plastic sheeting or drop cloths.
- Protect Floors: Lay down drop cloths or old sheets to protect your flooring from water and cleaning solutions.
- Cover Outlets/Switches: Loosely cover electrical outlets and light switches with painter’s tape to prevent water from entering. For added safety, consider turning off power to the room at the circuit breaker.
- Dusting (First Pass):
- Purpose: Remove loose dust, cobwebs, and superficial dirt before introducing any moisture. This prevents turning dust into muddy streaks when you wash.
- Method: Use a microfiber dusting mop, a soft-bristled broom covered with a clean cloth, or a vacuum cleaner with a brush attachment. Start from the top of the wall and work your way down. Pay attention to corners, baseboards, and around window/door frames.
- Washing:
- Prepare Solution: As discussed in previous sections, prepare your cleaning solution (mild soap and warm water for standard cleaning; TSP or vinegar for grease). Use two buckets: one for the cleaning solution, one for clean rinse water.
- Apply and Scrub: Dip a clean sponge or microfiber cloth into the cleaning solution, wring it out well (it should be damp, not dripping). Work in small, manageable sections (e.g., 3×3 feet). Gently wipe or scrub the wall surface, applying slightly more pressure on dirtier areas.
- Rinsing:
- Immediate Action: Immediately after washing a section, switch to your second bucket with plain, clean warm water. Using a fresh, clean sponge or cloth, wipe down the same section to remove all traces of the cleaning solution.
- Change Water Frequently: The rinse water will quickly become dirty. Change it often to avoid redepositing dirt or soap residue onto the clean walls. This step is critical for preventing streaks and ensuring proper paint adhesion.
- Full Drying Process:
- Crucial Step: This is often underestimated. Walls must be completely dry before you apply any primer or paint. Moisture trapped under paint can lead to blistering, peeling, and uneven finishes.
- Drying Time: Depending on humidity and air circulation, walls can take anywhere from a few hours to 24 hours to dry.
- Accelerate Drying:
- Open Windows: Increase air circulation by opening windows and doors.
- Fans: Use oscillating fans to move air around the room.
- Dehumidifier: In very humid conditions, a dehumidifier can significantly speed up the drying process.
- Test for Dryness: Before painting, run your hand over the wall. It should feel completely dry to the touch, with no coolness or dampness. A moisture meter can provide a more accurate reading if you’re unsure.
By following these sequential steps, you create the ideal canvas for a smooth, durable, and beautiful paint job.
Expert tips: Light sanding, spot cleaning, dry wipe advice
Beyond the standard cleaning protocol, experienced painters and DIY enthusiasts often share nuanced tips that can elevate your wall prep from good to flawless. These insights, often found in communities like Reddit, highlight practical approaches to common challenges.
- Light Sanding for Smoothness and Adhesion (The “Scuff Sand”):
- Why: Even after cleaning, walls can have minor imperfections, old paint drips, or a glossy finish that paint struggles to adhere to. A very light sanding (often called “scuff sanding” or “degreasing sand”) provides a slightly abraded surface, giving the new paint something to “grip” onto.
- Method: Use a fine-grit sandpaper (180-220 grit) or a sanding sponge. Gently go over the entire wall surface, applying minimal pressure. The goal is not to remove paint, but to dull any sheen and create microscopic scratches.
- Benefit: Improves paint adhesion dramatically, reduces the appearance of minor imperfections, and helps create a smoother final finish.
- Post-sanding: Always vacuum the walls thoroughly after sanding to remove all dust, then wipe down with a damp (but not wet) cloth, and allow to dry completely.
- Targeted Spot Cleaning for Specific Stains:
- Why: Sometimes, only certain areas have stubborn stains (e.g., crayon marks, permanent marker, grease spots that resist general cleaning).
- Method: Instead of washing the entire wall with a heavy-duty cleaner for one spot, treat specific stains.
- Crayon/Pencil: A magic eraser (melamine foam) can be surprisingly effective. Test in an inconspicuous area first, as it can sometimes remove very thin paint layers.
- Grease/Oil: Apply a small amount of TSP solution (or a specialized degreaser) directly to the spot, scrub gently, then rinse thoroughly multiple times.
- Ink/Marker: Isopropyl alcohol or denatured alcohol can often lift ink. Dab, don’t rub, to avoid spreading the stain. Rinse well.
- Benefit: Prevents over-cleaning the entire wall with harsh chemicals, which can be time-consuming and potentially damaging to less soiled areas.
- The “Dry Wipe” after Washing:
- Why: Even after rinsing, some residual moisture can linger. A final dry wipe ensures the surface is truly dry and catches any remaining dust particles that might have settled during the drying process.
- Method: Once the walls feel dry to the touch, go over them one last time with a clean, dry microfiber cloth. This acts as a final dust collector and polisher.
- Benefit: Provides an extra layer of assurance that your walls are pristine and ready for paint, minimizing the chance of trapped dust or moisture causing imperfections in your finished coat.
- Listen to Your Walls:
- Sometimes, walls are surprisingly clean and only need a quick dust and light wipe-down. Don’t feel obligated to do a full TSP wash if it’s not necessary. Assess the level of dirt and choose the appropriate cleaning method. Over-wetting walls, especially drywall, can cause more problems than it solves.
By incorporating these Reddit-approved tips, you can achieve a wall surface that is not just clean, but perfectly prepared for an outstanding paint job.
Why clean walls ensure better paint adhesion and longevity
The meticulous process of cleaning walls before painting is not just about aesthetics; it’s a fundamental requirement for the functional performance and long-term durability of your paint job. Understanding why it’s so important underscores its non-negotiable status in proper painting preparation.
- Optimal Paint Adhesion:
- The Problem: Paint needs a clean, stable surface to bond with. Dust, dirt, grime, grease, smoke residue, and even old, chalky paint act as barriers or release agents. When paint is applied over these contaminants, it doesn’t form a strong mechanical and chemical bond with the substrate (the wall material itself).
- The Solution: Cleaning removes these barriers, allowing the paint to directly contact the wall. This direct contact facilitates proper adhesion, ensuring the paint “grabs” onto the surface rather than sitting on top of a layer of dirt. A properly adhered paint layer is less likely to peel, crack, or flake off.
- Even and Consistent Finish:
- The Problem: Uneven surfaces due to dirt or residue can lead to a patchy or inconsistent paint finish. Dust particles, smudges, or greasy spots can show through the paint, creating blemishes or variations in sheen. If paint doesn’t adhere uniformly, some areas might absorb more paint than others, leading to visible color differences or streaks.
- The Solution: A clean, smooth surface provides a uniform base for the paint. This allows the paint to spread evenly, cure consistently, and display its true color and sheen without interference from underlying imperfections caused by dirt.
- Increased Durability and Longevity:
- The Problem: When paint adheres poorly, it’s more susceptible to damage from everyday wear and tear. A weak bond makes the paint film fragile and prone to chipping, scratching, and peeling with minimal impact. Moisture can also more easily penetrate poorly adhered paint, leading to mildew growth or bubbling.
- The Solution: Good adhesion is the foundation of a durable paint job. When paint is properly bonded, it forms a resilient, protective layer that can withstand cleaning, minor abrasions, and environmental factors much better. This extends the lifespan of your paint job, meaning you won’t have to repaint as frequently, saving you time and money in the long run.
- Prevention of Blistering and Peeling:
- The Problem: Grease, oils, and soap residue are notorious for causing paint to blister or peel. These substances prevent the paint from drying and adhering properly, leading to pockets of trapped moisture or air that manifest as blisters. As the paint tries to cure, these unbonded areas can detach from the wall.
- The Solution: Thorough degreasing (with TSP or vinegar) and meticulous rinsing eliminate these problematic residues, ensuring a clean, receptive surface where paint can cure correctly and bond permanently.
- Better Paint Performance:
- Paint manufacturers formulate their products to perform best on clean, properly prepared surfaces. Ignoring this step essentially means you’re not getting the full benefit of the paint’s engineered qualities, such as its scrubbability, stain resistance, or color retention.
In essence, cleaning walls before painting is an investment in the quality and longevity of your finished project. It’s the difference between a paint job that looks good for a few months and one that looks fantastic and holds up for years.