
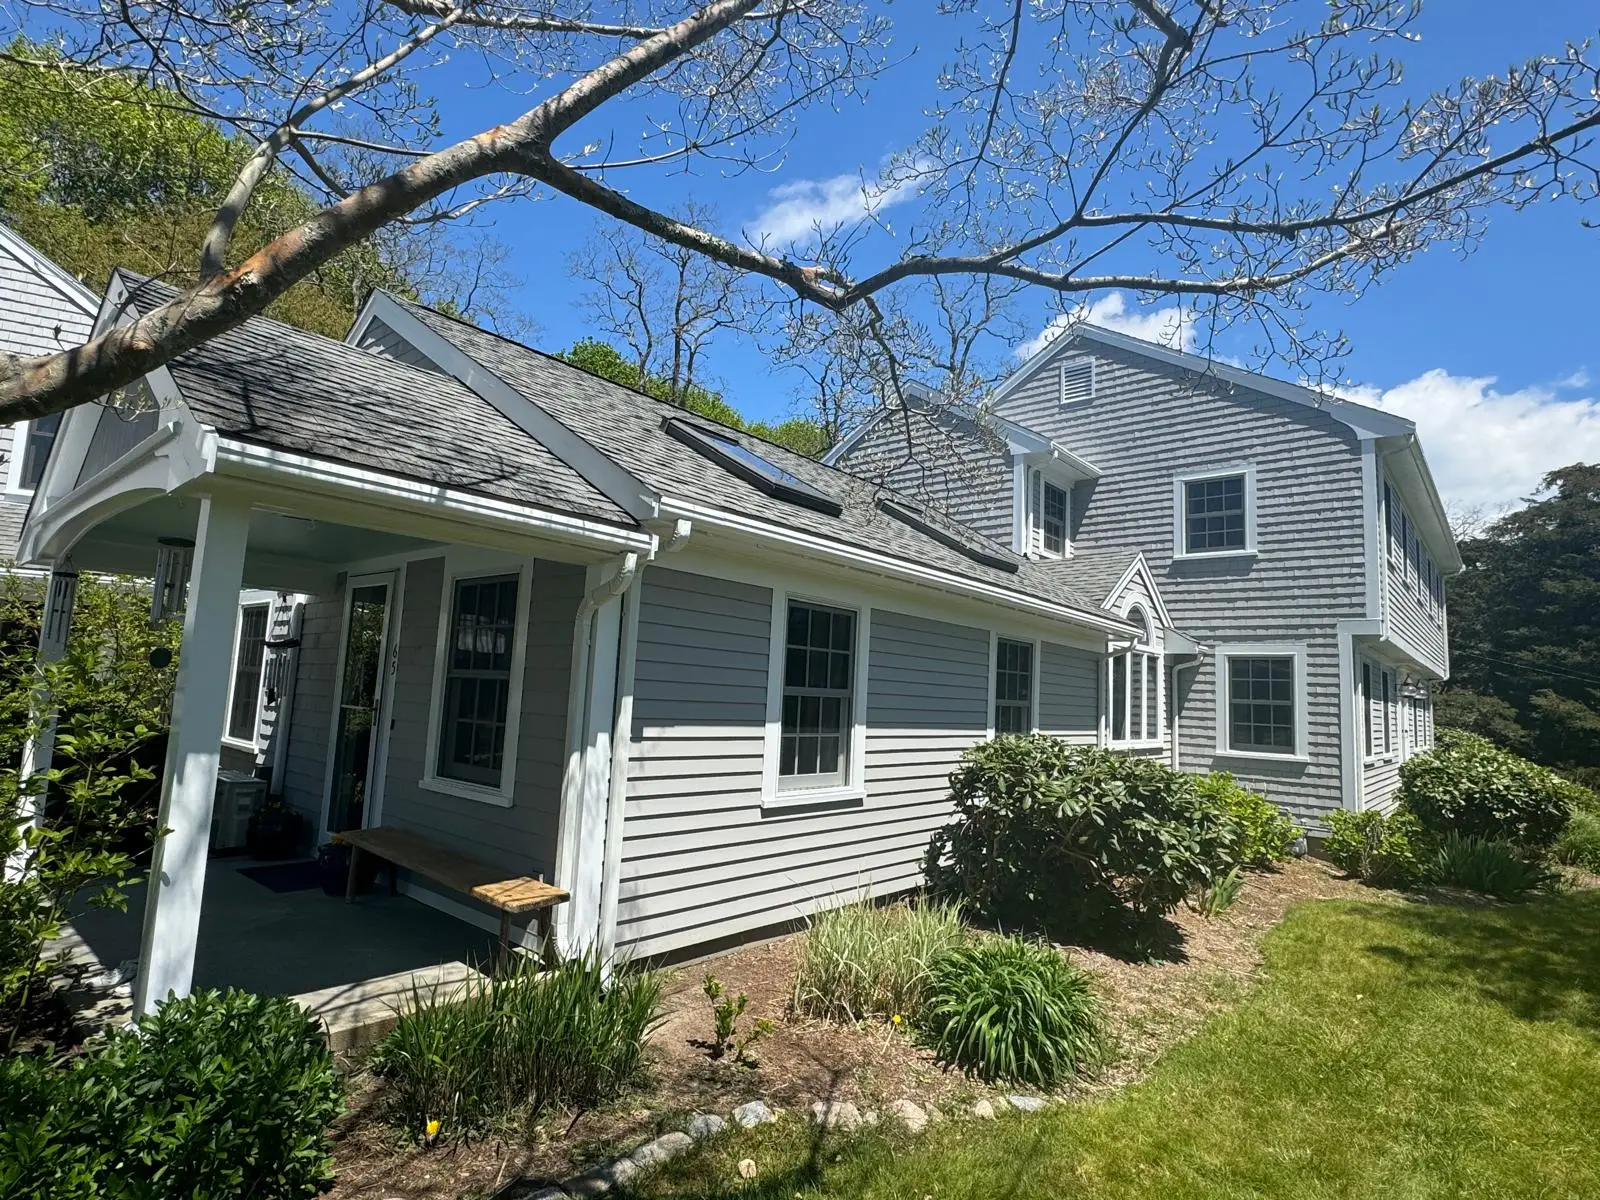
Painting windows can dramatically refresh the appearance of your home, inside and out. Whether you’re updating a tired exterior, brightening an interior room, or simply protecting your window frames from the elements, a fresh coat of paint can make a significant difference. This comprehensive guide will walk you through the entire process, from gathering your tools to applying the final strokes, ensuring a smooth, durable, and professional-looking finish. We’ll cover everything you need to know to tackle this home improvement project with confidence.
Tools and materials you’ll need
Before you begin, gather all the necessary tools and materials. Having everything on hand will ensure a smoother and more efficient painting process.
- Drop Cloths or Plastic Sheeting: To protect floors, landscaping, and furniture from paint drips.
- Painter’s Tape: High-quality tape for masking off glass, hardware, and adjacent surfaces.
- Cleaning Supplies:
- Mild detergent (e.g., dish soap)
- Buckets
- Sponges or soft cloths
- Stiff brush (for exterior, if needed)
- Scraper/Putty Knife: For removing loose paint and old caulk.
- Sandpaper/Sanding Sponge: Medium-grit (120-180) for smoothing rough spots, fine-grit (220) for final preparation and between coats.
- Caulk Gun and Paintable Caulk: For sealing gaps and cracks.
- Dust Brush or Vacuum: To remove sanding dust.
- Primer: High-quality exterior-grade or bonding primer suitable for your window material (wood, vinyl, metal).
- Paint: High-quality exterior-grade paint (100% acrylic latex is often recommended for flexibility and durability). Choose a finish (satin, semi-gloss, or gloss) that suits your aesthetic and provides good protection.
- Paint Brushes: High-quality angled sash brushes (1.5 to 2.5 inches) for precision work on sashes and trim.
- Small Foam Roller (Optional): For flatter frame sections.
- Paint Stirrer: To mix paint thoroughly.
- Paint Can Opener:
- Rags/Wipes: For immediate cleanup of spills.
- Safety Gear: Gloves, safety glasses, and a dust mask for sanding.
- Ladder or Step Stool: For reaching high areas safely.
Step 1 – Prepare the window surface
Proper preparation is the most critical step for a long-lasting and professional paint job. Do not skip or rush these stages.
- Remove Loose Paint: Use a paint scraper or putty knife to remove any loose, peeling, or chipped old paint. Be careful not to damage the window frame.
- Clean Thoroughly: Wash the entire window frame, sash, and trim with a mild detergent and water solution. For exterior windows, a stiff brush might be needed to remove stubborn dirt, mildew, or grime. Rinse thoroughly with clean water to remove all soap residue. Allow the surfaces to dry completely.
- Repair Imperfections: Fill any holes, cracks, or gouges in wood frames with exterior-grade wood filler. For vinyl, address any significant damage carefully, or consider if painting is appropriate. Once dry, sand the repaired areas smooth.
- Sand the Surface: Lightly sand all surfaces to be painted with medium-grit sandpaper (120-180). This creates a “tooth” for the primer and paint to adhere to. If the existing paint is glossy, sanding is crucial to dull the sheen. Follow up with fine-grit (220) for a smoother finish.
- Remove Dust: After sanding, thoroughly clean all dust from the window surfaces using a dust brush, vacuum, or tack cloth. Any remaining dust will compromise paint adhesion.
- Caulk Gaps: Apply a bead of paintable acrylic latex caulk to seal any gaps between the window frame and the surrounding wall or trim. Smooth the caulk with a wet finger or a caulking tool. This helps prevent moisture intrusion and creates a seamless look. Allow the caulk to cure according to manufacturer instructions.
- Masking: Carefully apply painter’s tape to the window glass, window hardware, and any adjacent areas (siding, wall, or trim) that you do not want painted. Press the tape down firmly with a putty knife or your finger to ensure a tight seal and prevent paint bleed-through, especially along the glass edge.
Step 2 – Apply primer for better adhesion
Priming is essential for excellent adhesion, uniform color, and increased durability, especially when changing colors or painting over bare wood or metal.
- Choose the Right Primer: Select an appropriate primer for your window material.
- Wood: An oil-based or high-quality acrylic latex primer for wood.
- Vinyl/Plastic: A 100% acrylic bonding primer specifically designed for vinyl or plastic.
- Metal: A rust-inhibiting metal primer if painting metal windows.
- Apply Thin, Even Coat: Stir the primer thoroughly. Apply a thin, even coat of primer to all surfaces that will be painted. Use an angled sash brush for detailed areas and a small foam roller for wider, flatter sections of the frame.
- Avoid Overloading Brush: Do not apply primer too thickly, as this can lead to drips and extend drying time.
- Allow to Dry: Let the primer dry completely according to the manufacturer’s instructions, which can vary from a few hours to overnight. Ensure proper ventilation.
- Light Sand (Optional): Once dry, you can lightly sand the primed surface with fine-grit (220) sandpaper for an even smoother finish, then remove any dust with a tack cloth.
Step 3 – Paint frames, trim, and sashes carefully
Now it’s time for the topcoat. For multi-pane windows, it’s generally best to paint the sashes first, then the frame, and finally the trim.
- Stir Paint: Thoroughly stir your chosen paint.
- Paint Sashes First: If you have double-hung windows, raise the inner sash about halfway and lower the outer sash about halfway. Paint the exposed parts of both sashes. Once dry, reposition the sashes to expose the unpainted areas and paint them. This method prevents the sashes from getting stuck together. Paint the muntins (grilles) first, then the rails, and finally the stiles.
- Paint the Frame: Next, paint the main window frame (the fixed part of the window unit). Work from the top down to catch any drips.
- Paint the Trim: Finally, paint any surrounding trim or casing.
- Thin, Even Coats: Apply the paint in thin, even coats. Two thin coats are always better than one thick coat for durability and a smoother finish. Avoid overloading your brush.
- Drying Time Between Coats: Allow each coat of paint to dry completely according to the manufacturer’s instructions before applying the next. This typically takes 4-6 hours, but humidity and temperature can affect drying times.
- Inspect and Touch Up: After the final coat is dry, inspect your work. Touch up any missed spots or areas that need more coverage.
Tips for avoiding drips and streaks
Achieving a flawless finish requires attention to detail and good technique.
- Don’t Overload Your Brush: Dip only the tip of your brush (about one-third of the bristles) into the paint. Wipe off excess paint on the edge of the can.
- Use Long, Even Strokes: Apply paint using consistent, smooth strokes, working in one direction.
- Work in Small Sections: Don’t try to cover too large an area at once. Focus on one sash, frame section, or trim piece at a time.
- Feather Edges: When you pause or come to an end of a section, feather the edge of your brush stroke lightly to minimize visible lines when you resume.
- Wipe Up Drips Immediately: Keep a damp cloth or rag handy to quickly wipe away any drips or mistakes before they dry.
- Maintain a Wet Edge: Try to maintain a “wet edge” as you paint, meaning you work into the previously painted, still-wet section. This helps to blend strokes seamlessly and prevent lap marks.
- Use the Right Brush: A good quality angled sash brush allows for more control and precision, especially when painting near glass or intricate details.
Common mistakes to avoid when painting windows
Knowing what to avoid can save you time, frustration, and ensure a better outcome.
- Skipping Preparation: Rushing or neglecting cleaning, sanding, and caulking is the most common mistake and will lead to peeling, chipping, and an unprofessional finish.
- Not Using Primer: Especially when painting over bare wood, a dark color, or vinyl, skipping primer will result in poor adhesion and an uneven final color.
- Painting in Extreme Weather: Avoid painting in direct hot sunlight, high humidity, or when rain is expected. Extreme temperatures can affect paint drying and adhesion. Ideal conditions are moderate temperatures and low humidity.
- Using the Wrong Type of Paint: Using interior paint outdoors, oil-based paint on vinyl, or low-quality paint will lead to premature failure of the paint job. Always use exterior-grade, 100% acrylic latex for best results on most window materials.
- Applying Thick Coats: Thick coats of paint take longer to dry, are more prone to dripping, and can lead to an uneven, bumpy finish. Multiple thin coats are always superior.
- Removing Tape Too Late: If you wait until the paint is fully cured to remove painter’s tape, the paint can bond to the tape and peel off with it, leaving jagged edges. Remove the tape while the paint is still slightly tacky.
- Painting Windows Shut: Ensure all sashes are free and can move before and during painting. Carefully open and close them between coats (when dry enough) to prevent them from drying shut.
- Ignoring Manufacturer’s Instructions: Always read and follow the instructions on your paint and primer cans regarding drying times, application methods, and specific recommendations for different surfaces.
Ready to give your home’s windows a beautiful, long-lasting refresh? Don’t let the details overwhelm you!
Contact Mass Pro Painting today for a free consultation. Our expert team ensures meticulous preparation, high-quality materials, and a flawless finish that will enhance your home’s curb appeal and protect your investment for years to come.