
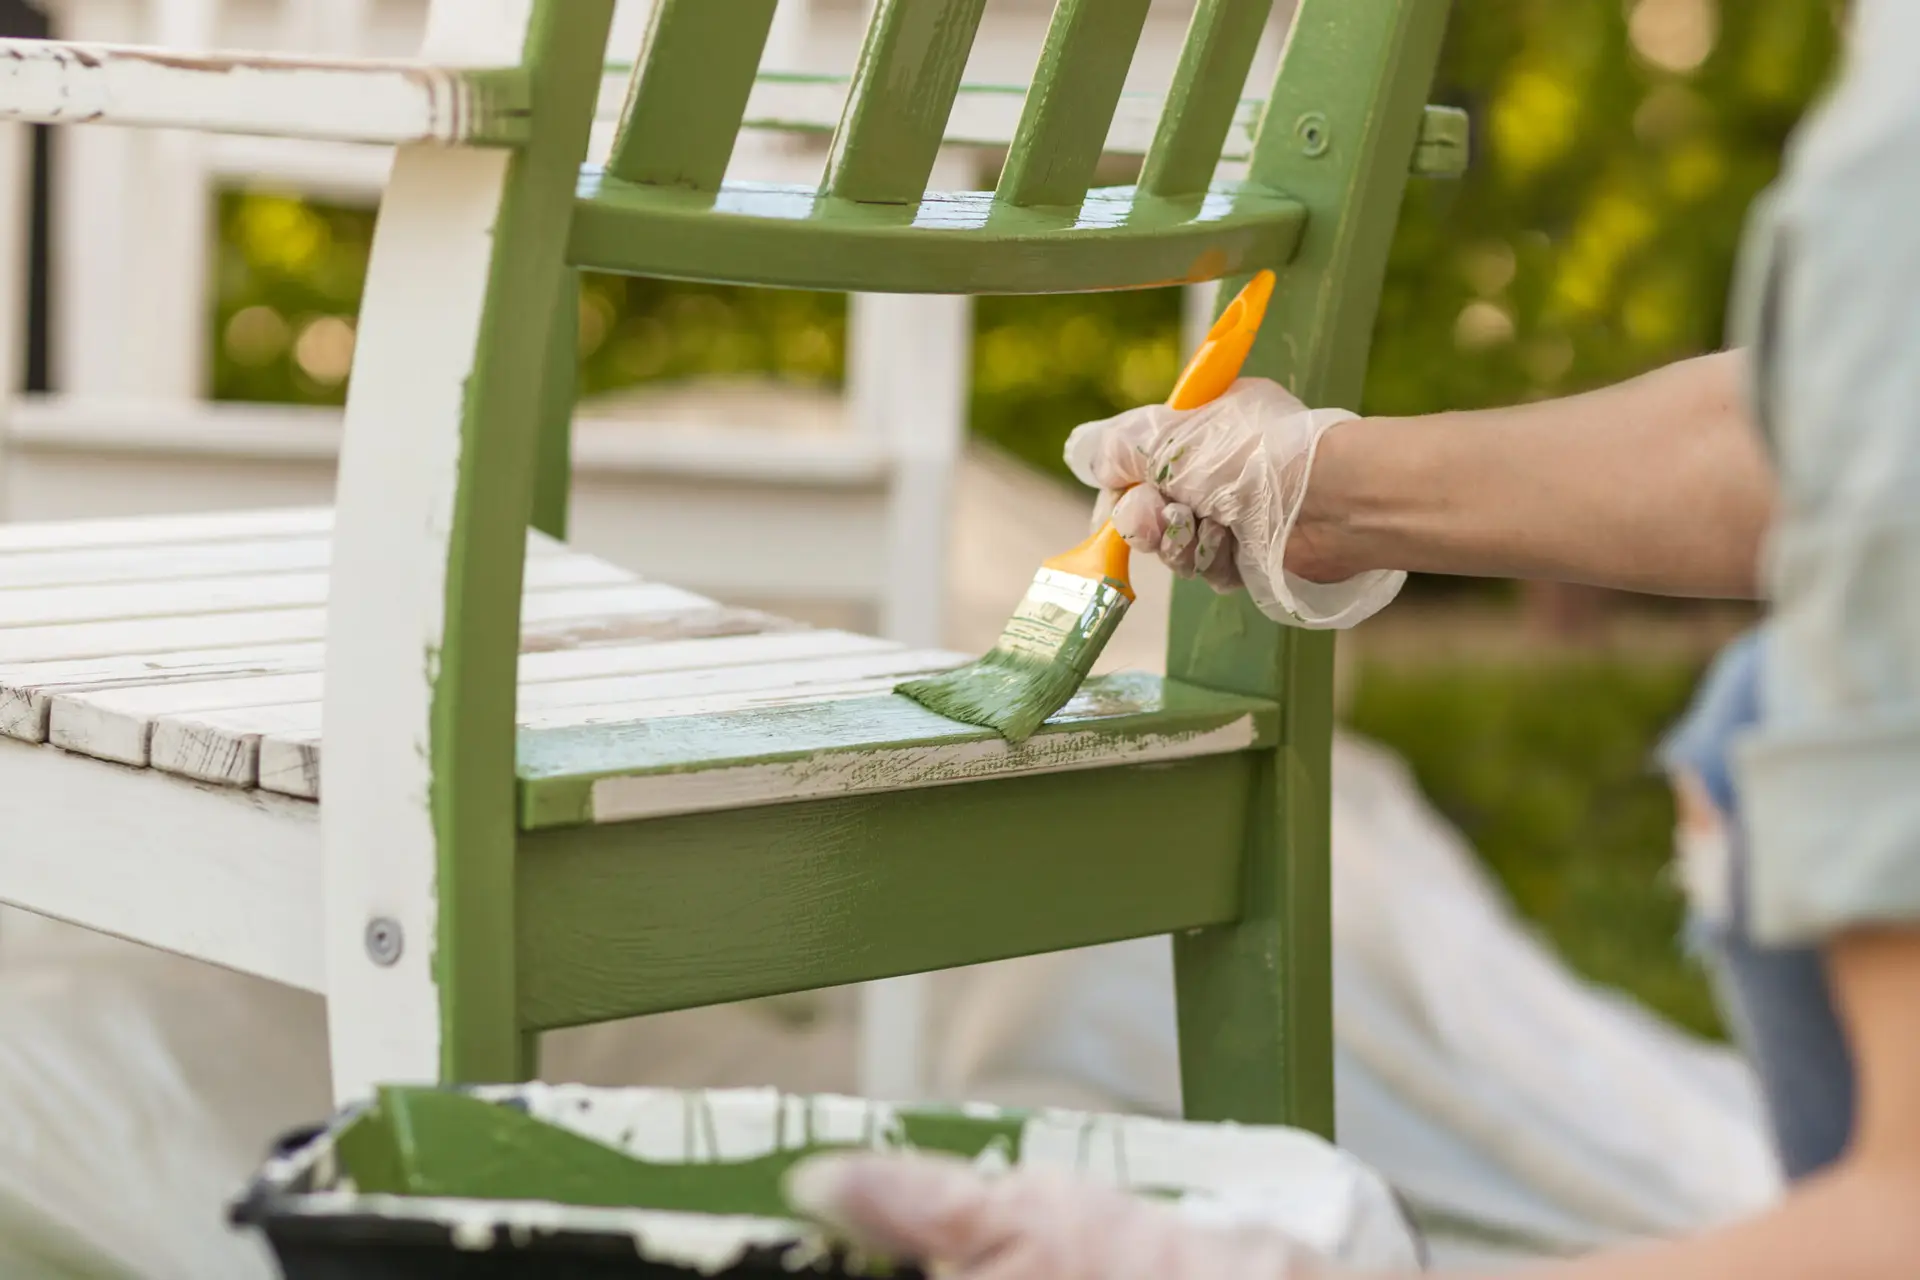
Wooden chairs are among the hardest-working pieces of furniture in any home, constantly enduring shifting weight, movement, and spills. Because of this high-contact environment, painting a wooden chair successfully requires choosing the right materials and executing a meticulous preparation process. Unlike decorative pieces, a painted chair must withstand significant physical wear without chipping or peeling.
Why Wooden Chairs Need Extra Durability
A successful paint job on a wooden chair is defined by its resistance to abrasion and impact. This requires using specialized products that create a hard, durable shell around the wood.
High-Contact Areas and Wear Points
Chairs have several areas that suffer constant friction and impact, making them susceptible to premature paint failure:
- Seat Edges and Backrests: These areas rub against clothing and bodies repeatedly.
- Armrests: Constant hand contact transfers oils and dirt, which degrades paint over time.
- Legs and Feet: The lower sections are constantly knocked, scraped against floors, and exposed to floor-cleaning chemicals.
- Rungs and Spindles: Feet frequently scrape against these supports, causing immediate chipping if the paint isn’t hard enough.
Why Standard Wall Paint Doesn’t Hold Up
Standard interior latex paint (used for walls) is formulated to be soft, flexible, and easy to clean without scrubbing, but not to resist heavy abrasion.
- Low Durability: Wall paint scratches easily and lacks the hardening agents required to form a tough film.
- Tackiness: Some standard latex paints remain slightly “tacky” even when cured, causing chair surfaces to stick to clothing or attract excessive dust.
- Poor Adhesion: Without proper sanding and priming, wall paint will not bond adequately to previously finished or stained wood, leading to widespread peeling.
Preparing Wooden Chairs for Paint
Preparation is the foundation of durability. Skipping steps here guarantees the paint will fail.
Cleaning and Degreasing
Before sanding, the surface must be free of oils, wax, and dirt. Any residue will clog sandpaper and prevent primer adhesion.
- Degreaser: Use a diluted solution of Tri-Sodium Phosphate (TSP substitute) or a specialized degreaser like Krud Kutter.
- Application: Thoroughly wipe down the entire chair, focusing on areas with high hand contact (backrests and arms).
- Rinse and Dry: Rinse the chair with clean water to remove all cleaner residue and allow it to dry completely.
Sanding Detailed Areas and Joints
Sanding provides the necessary “tooth” for the primer to grip the old finish. The goal is to scuff the glossy topcoat, not necessarily remove all the old stain or paint.
- Initial Sanding: Use 100- to 120-grit sandpaper for the first pass to remove any rough spots or obvious flaws.
- Finish Sanding: Switch to 150- to 180-grit sandpaper to smooth out the initial marks and dull the entire surface.
- Detailed Areas: For curved spindles, rungs, and joints, use a sanding sponge or flexible sanding pads, or use a liquid deglosser/de-glover product if sanding is impossible.
- Dust Removal: Vacuum all sanding dust and wipe the chair down with a clean, lint-free tack cloth before priming.
Priming for Adhesion and Longevity
Primer performs two vital functions: bonding to the old finish and providing a consistent surface for the new paint.
- Bonding Primer: Use a specialized bonding primer (often called an adhesion primer) formulated for difficult surfaces. This is critical if you are painting over a glossy lacquer or polyurethane finish.
- Stain-Blocking (If Needed): If you are painting a dark wood (like mahogany or oak) with a light color (like white), an oil-based or shellac-based stain-blocking primer is essential to prevent wood tannins from bleeding through the final paint layers (called “bleed-through”).
- Application: Apply two thin coats of primer, allowing adequate drying time between coats.
Best Paint Types for Wooden Chairs
To achieve a durable, furniture-grade finish, avoid standard interior wall paint and select a product designed for cabinets or trim.
Cabinet and Furniture-Grade Enamel
These paints are specifically engineered for high-touch, high-wear surfaces and offer superior resistance to impact and cleaning.
- Hardness: They cure to a harder finish than regular latex, resisting scratches and blocking.
- Leveling: High-quality enamels “level” beautifully, meaning brush marks flow out as the paint dries, resulting in a smooth, professional-looking surface.
- Recommended Finishes: Semi-gloss or High-Gloss finishes offer the maximum durability and are the easiest to clean. Satin is acceptable for a slightly softer look but requires a more durable topcoat sealer.
Oil-Based vs. Water-Based Paints
| Characteristic | Oil-Based Enamels | Water-Based (Acrylic/Hybrid) Enamels |
| Durability | Excellent; cures to a rock-hard, traditional finish. | Excellent; modern hybrids offer close durability with faster cure times. |
| Application | Levels exceptionally well; requires mineral spirits for cleanup. | Easy cleanup with water; dries very quickly (can be tricky to avoid brush marks). |
| Cure Time | Very long (7-30 days to fully cure); strong odor during application. | Fast initial drying; full cure is faster than oil (usually 7-14 days); low odor. |
| Yellowing | Prone to slight yellowing over time, especially in dark areas. | Highly resistant to yellowing. |
Recommendation: Modern, water-based hybrid enamels (like Benjamin Moore Advance or Sherwin-Williams ProClassic) offer the best combination of low odor, quick dry time, and exceptional furniture-grade durability.
Design & Color Ideas
Painting a chair offers a chance to make a strong design statement, whether subtle or bold.
Neutral Tones vs. Bold Accent Colors
- Neutral Tones (White, Cream, Gray): Best for dining chairs that need to blend seamlessly with an existing table or room decor. They create an airy, unified look, especially in kitchens or open-concept spaces.
- Bold Accent Colors (Teal, Navy, Mustard Yellow): Use a bold color to make a single chair a focal point (e.g., a desk chair or an entryway chair) or to create an eclectic look around a neutral table. This approach works well in modern or bohemian styles.
Distressed vs. Smooth Finishes
The surface texture dramatically changes the chair’s style.
- Smooth Finish (Modern): Requires meticulous sanding, two coats of primer, and two to three leveled coats of semi-gloss or high-gloss enamel. This finish is sleek, easy to clean, and suits modern, contemporary, or formal decor.
- Distressed Finish (Farmhouse/Vintage): Achieved by sanding through the new paint layer(s) at wear points (edges, corners, rungs) after the paint has dried, exposing the bare wood or the color of a layer beneath. This finish is less demanding on prep but relies on good technique to look natural.
FAQs
How do you prevent chipping on chair legs?
Chipping on the bottom of the legs is usually caused by movement and dragging.
- Use Felt Pads: Apply heavy-duty felt furniture pads to the bottom of the chair feet immediately after the paint has fully cured. This protects the finish from the floor.
- Edge Rounding: If possible, lightly round sharp edges on the chair feet during sanding. Sharp edges are the first to chip.
- Use Durable Paint: Apply at least three coats of a hard furniture enamel.
Should chairs be sealed after painting?
If you used a high-durability, self-sealing paint like a cabinet-grade enamel, sealing is optional but not strictly necessary.
- When to Seal: If you used a low-sheen paint (like Matte or Eggshell) or if you created a distressed finish, a durable clear coat (polyurethane or polyacrylic topcoat) is highly recommended.
- Best Sealers: Polyacrylic (water-based polyurethane) is preferred over oil-based polyurethane, as it dries clear and fast, and won’t yellow light colors.
Are sprayed chairs more durable?
Spraying paint (using an aerosol can or a paint sprayer) does not inherently make the paint more durable than brushing. Durability is determined by the type of paint used.
- Spraying Advantage: Spraying provides a much smoother, factory-like finish without brush marks. It ensures better coverage in hard-to-reach areas like spindles and joints, which can prevent premature failure due to thin spots.
- Brushing Advantage: A skilled brush application can result in a thicker final film, which may offer slightly better impact resistance than a thin spray coat, provided the paint levels correctly.
Ready to give your dining set a completely new look that lasts? Find the perfect cabinet enamel and primer for your project today, and transform those tired chairs into durable, statement-making pieces!